Ashley Gorge Via Ferrata
Ashley Gorge Via Ferrata Gear Rentals
Get the certified gear required for the Ashley Gorge Via Ferrata in Vernal, Utah
Harness
〰️
Via Ferrata Lanyard
〰️
Helmet
〰️
Rent Required Gear
〰️
Harness 〰️ Via Ferrata Lanyard 〰️ Helmet 〰️ Rent Required Gear 〰️
The Required Via Ferrata Gear
The Ashley Gorge Via Ferrata is the longest public via ferrata in the United States. While it is public, there are still regulations that must be followed including having the correct equipment.
Required gear:
Via Ferrata lanyard (homemade or makeshift setups are not allowed)
Certified climbing helmet
Climbing Harness
Closed Toed Shoes
Dyno Outfitters is the only local rental location and the only place you pick up your gear from an actual person. Rent the required gear and learn more of the rules and regulations required to enjoy the via ferrata here.
First time and have no climbing experience? Look into getting a guide from the only guide service for the Ashley Gorge Via Ferrata.
Rental Gear Options
-
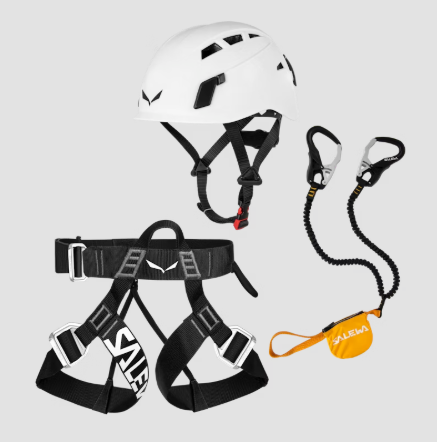
Full Via Ferrata Kit (Harness, Helmet, Lanyard)
$45
-
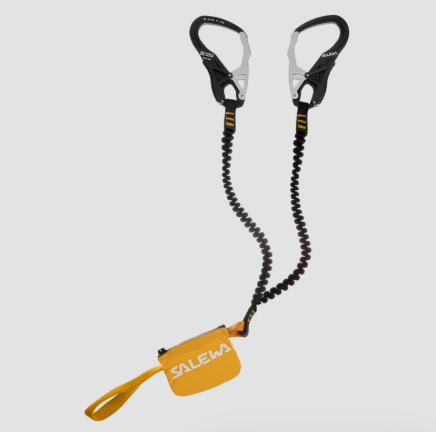
Via Ferrata Lanyard Only
$30
-
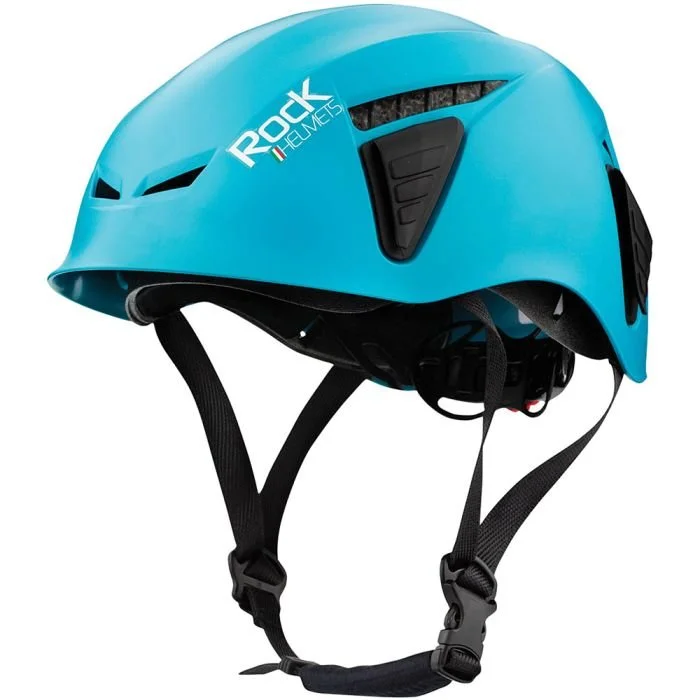
Helmet Only
$10
-
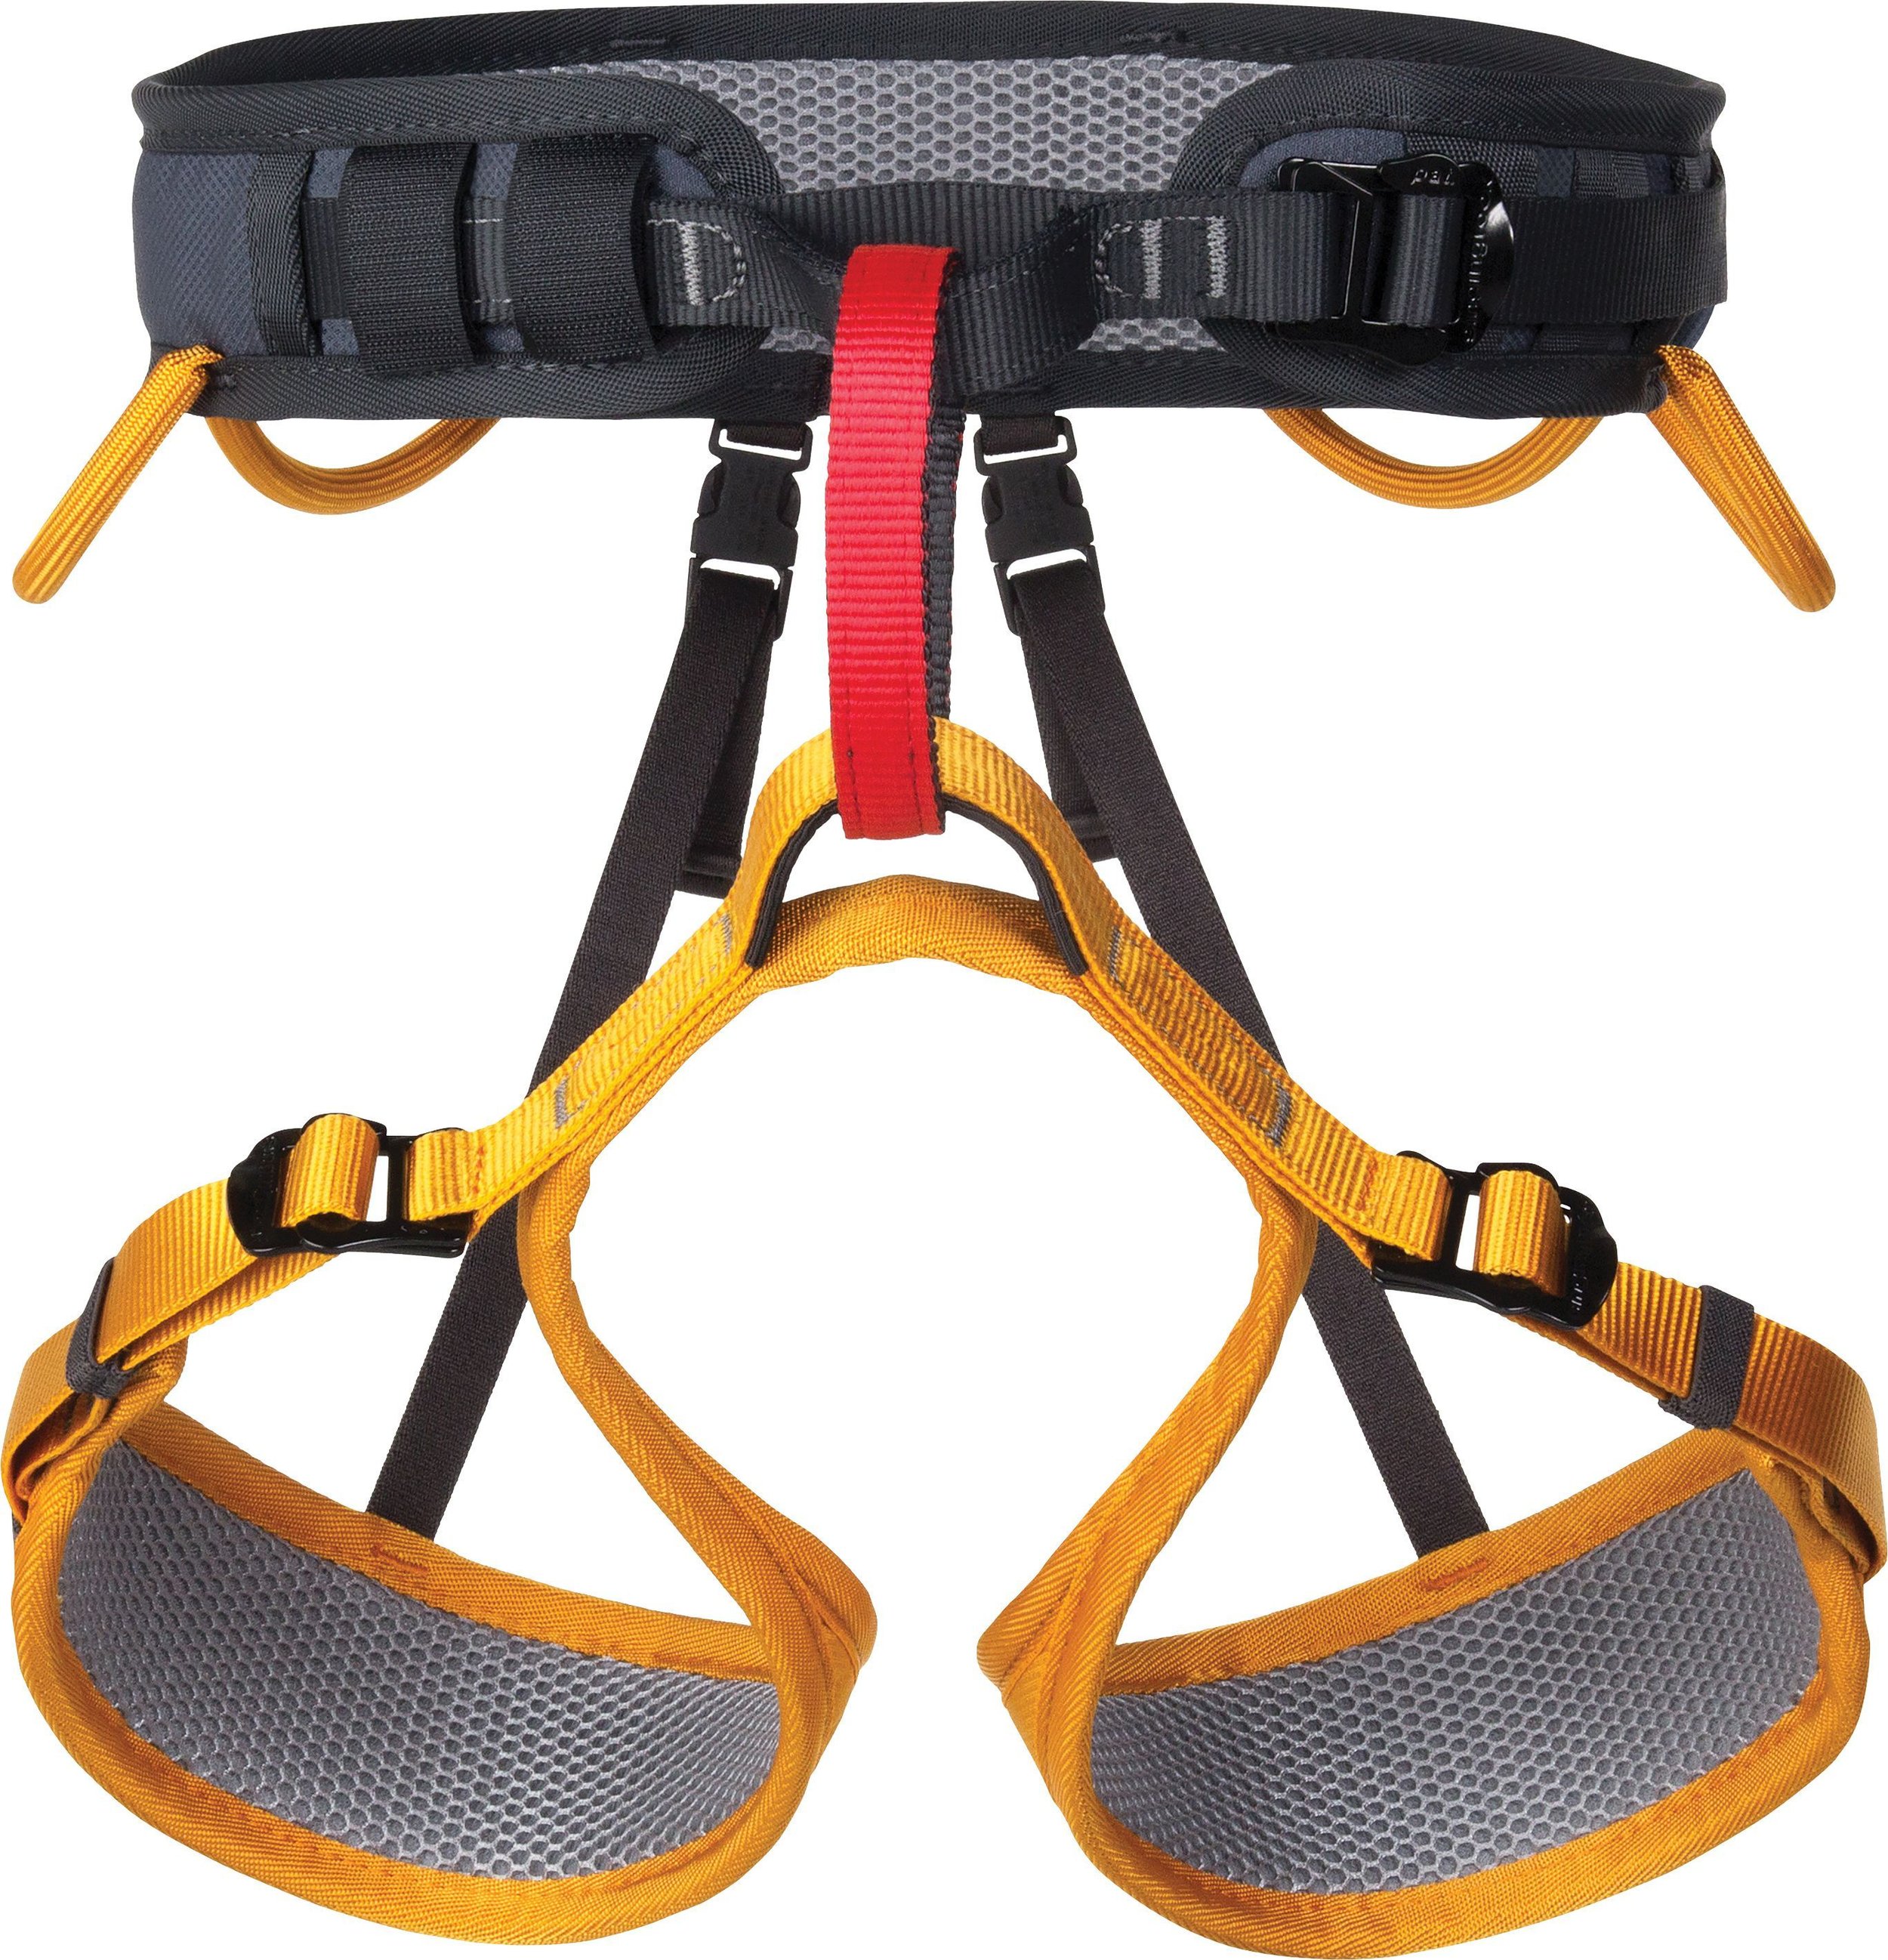
Harness Only
$15
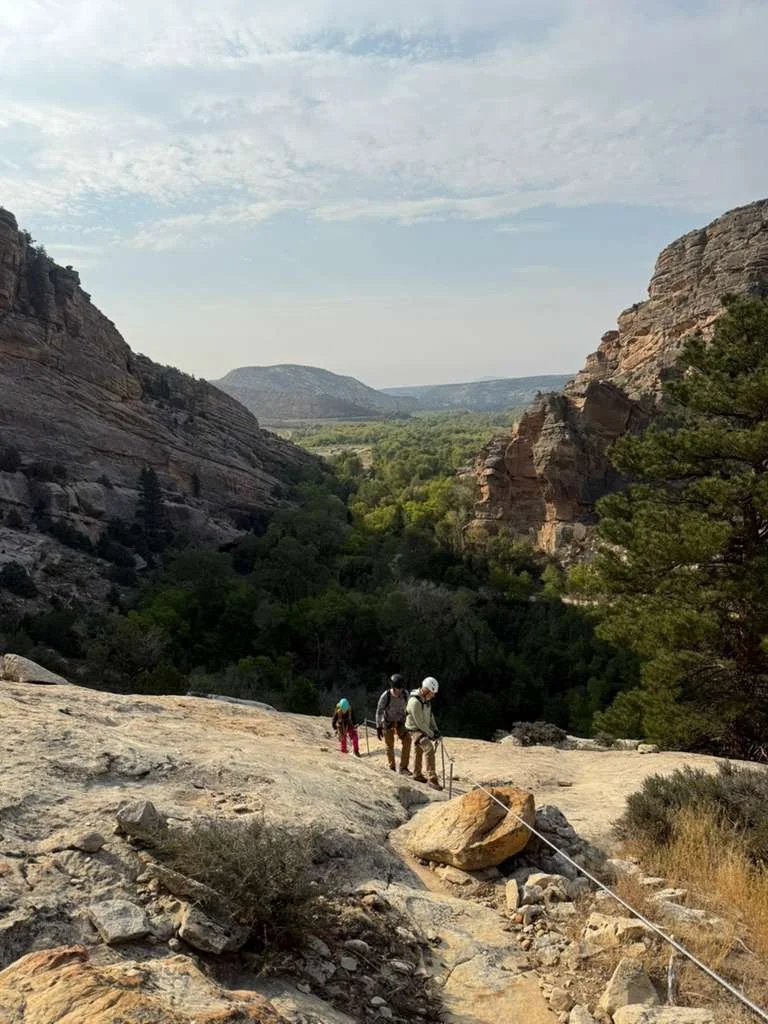
Guided vs Self-Guided Adventures
-
Explore the Ashley Gorge Via Ferrata with a local guide who helps you get more out of your day. Your trip includes a helmet, harness, via ferrata lanyard, gloves, snacks, and photos from your adventure, along with equipment instruction and coaching throughout the climb. Your guide helps choose a route that fits your group’s experience, fitness, and comfort with heights, then stays with you to offer pointers, answer questions, and provide encouragement through challenging sections.
Choose a guided trip if this is your first via ferrata, you have limited climbing experience, or you would feel more comfortable with professional support on the wall. It’s also a great option for experienced adventurers who want local route knowledge and help planning their day. With half-day and full-day trips available, you can choose how much adventure fits your schedule.
-
Have the experience and want to explore with your own crew? Our gear rentals equip you for an independent day on the Ashley Gorge Via Ferrata. Reserve a complete kit with a helmet, harness, and via ferrata lanyard, or rent individual pieces to complement your own equipment. When you pick up your gear at our Vernal shop, we’ll review the route map and answer questions before you head to the canyon. Once you’re on the course, your group manages the route choices, pace, equipment use, and decisions about when to continue or take an exit.
Choose self-guided if you have prior climbing or canyoneering experience, can put on a harness without assistance, and know how to use via ferrata equipment correctly. Everyone in your group should meet the course requirements and be prepared for the route you choose. This option suits capable adventurers who enjoy planning their own day and taking responsibility for their experience.
-
Both options bring you onto the canyon walls of Ashley Gorge, but the support you receive and the responsibilities you take on are different. The right choice depends on your climbing experience, comfort with heights, familiarity with the equipment, and ability to plan a route that works for everyone in your group.
Our guided vs. self-guided guide takes a closer look at what each experience involves, when hiring a guide makes sense, and what you should know before exploring independently. Give it a read before booking to find the option that fits your crew and the adventure you have in mind.
Details, Requirements & Restrictions
-
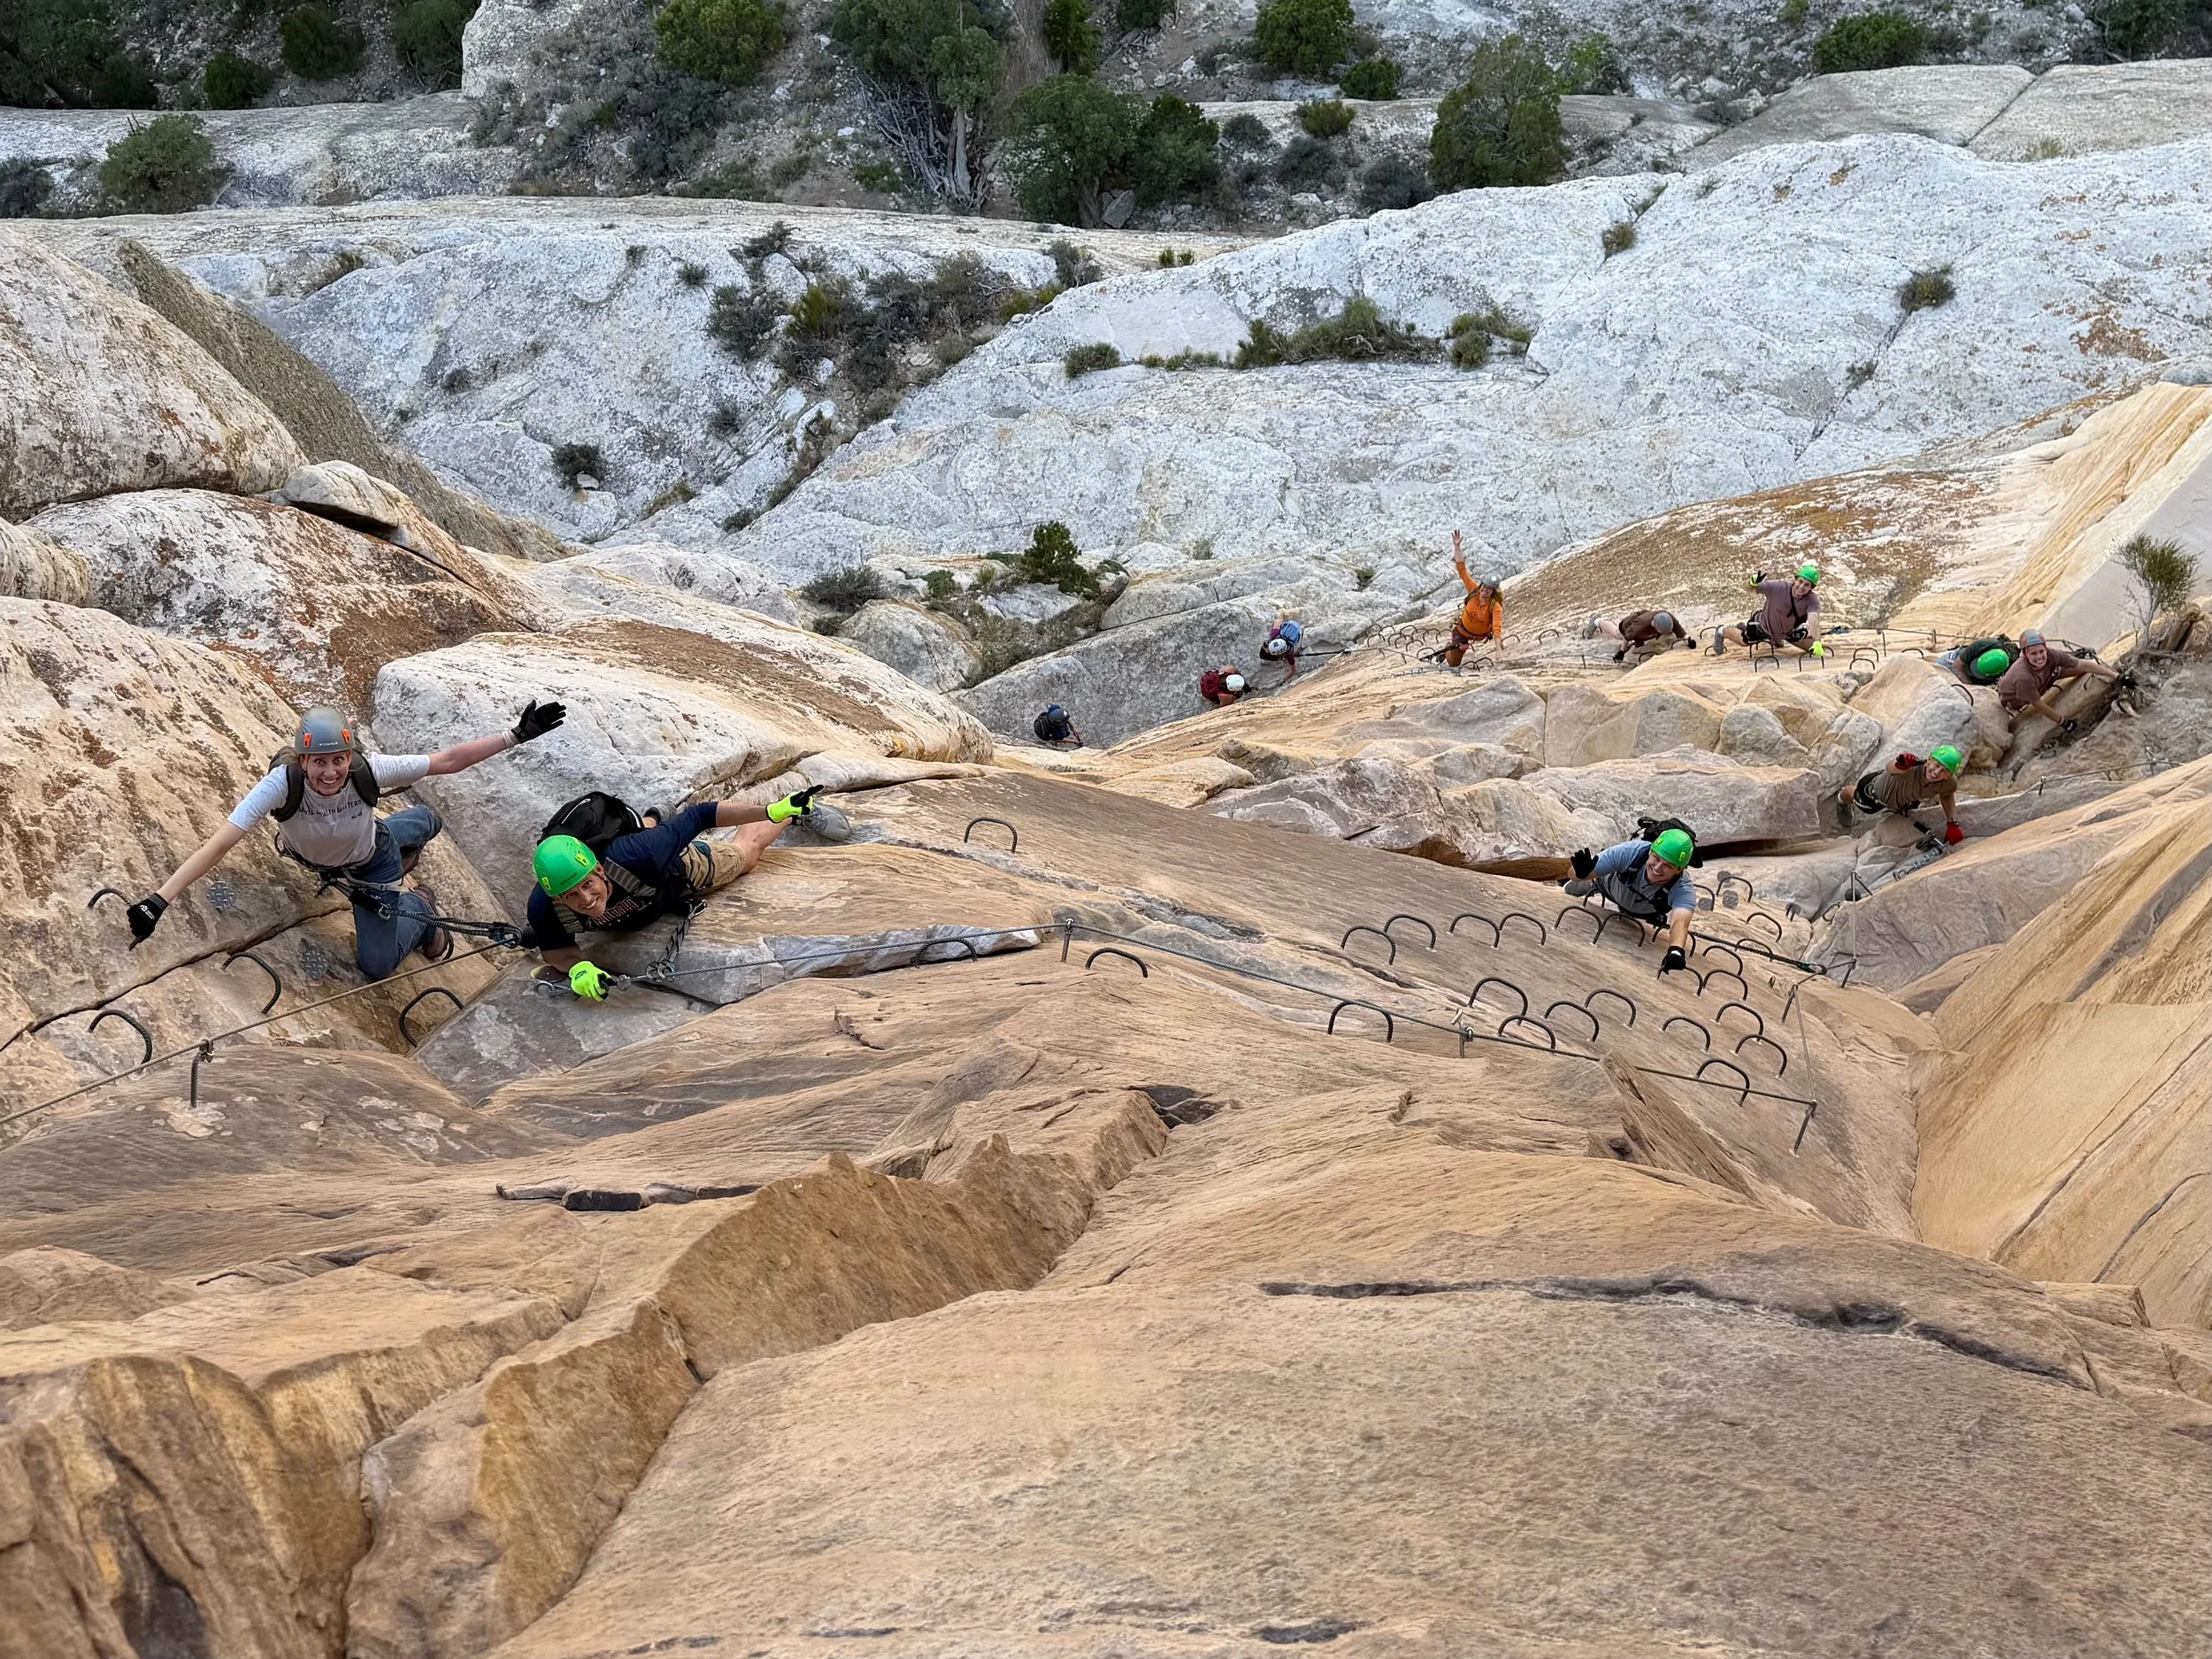
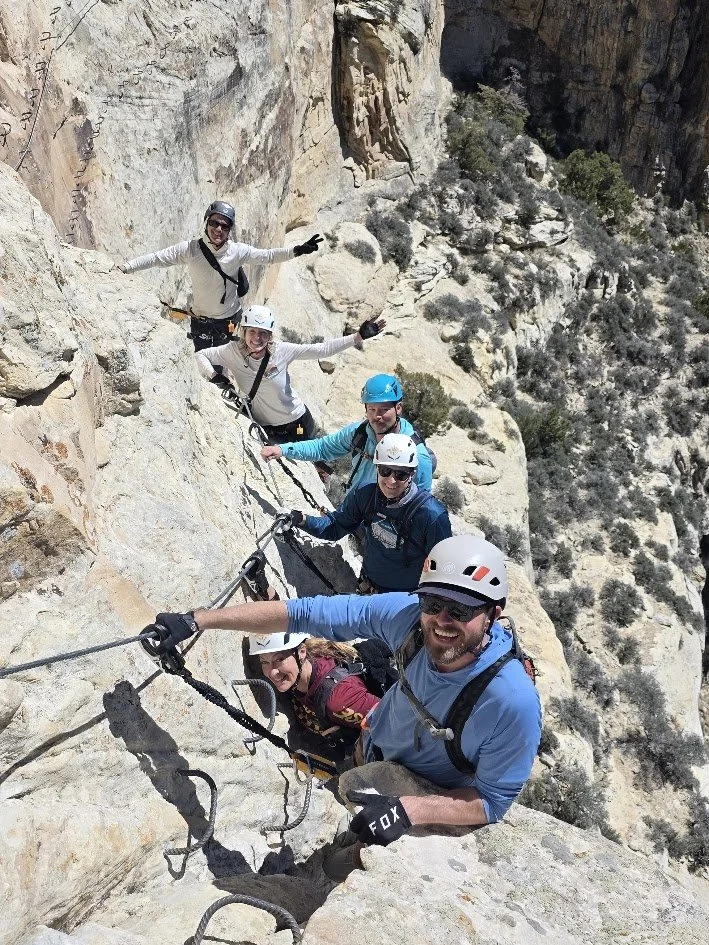
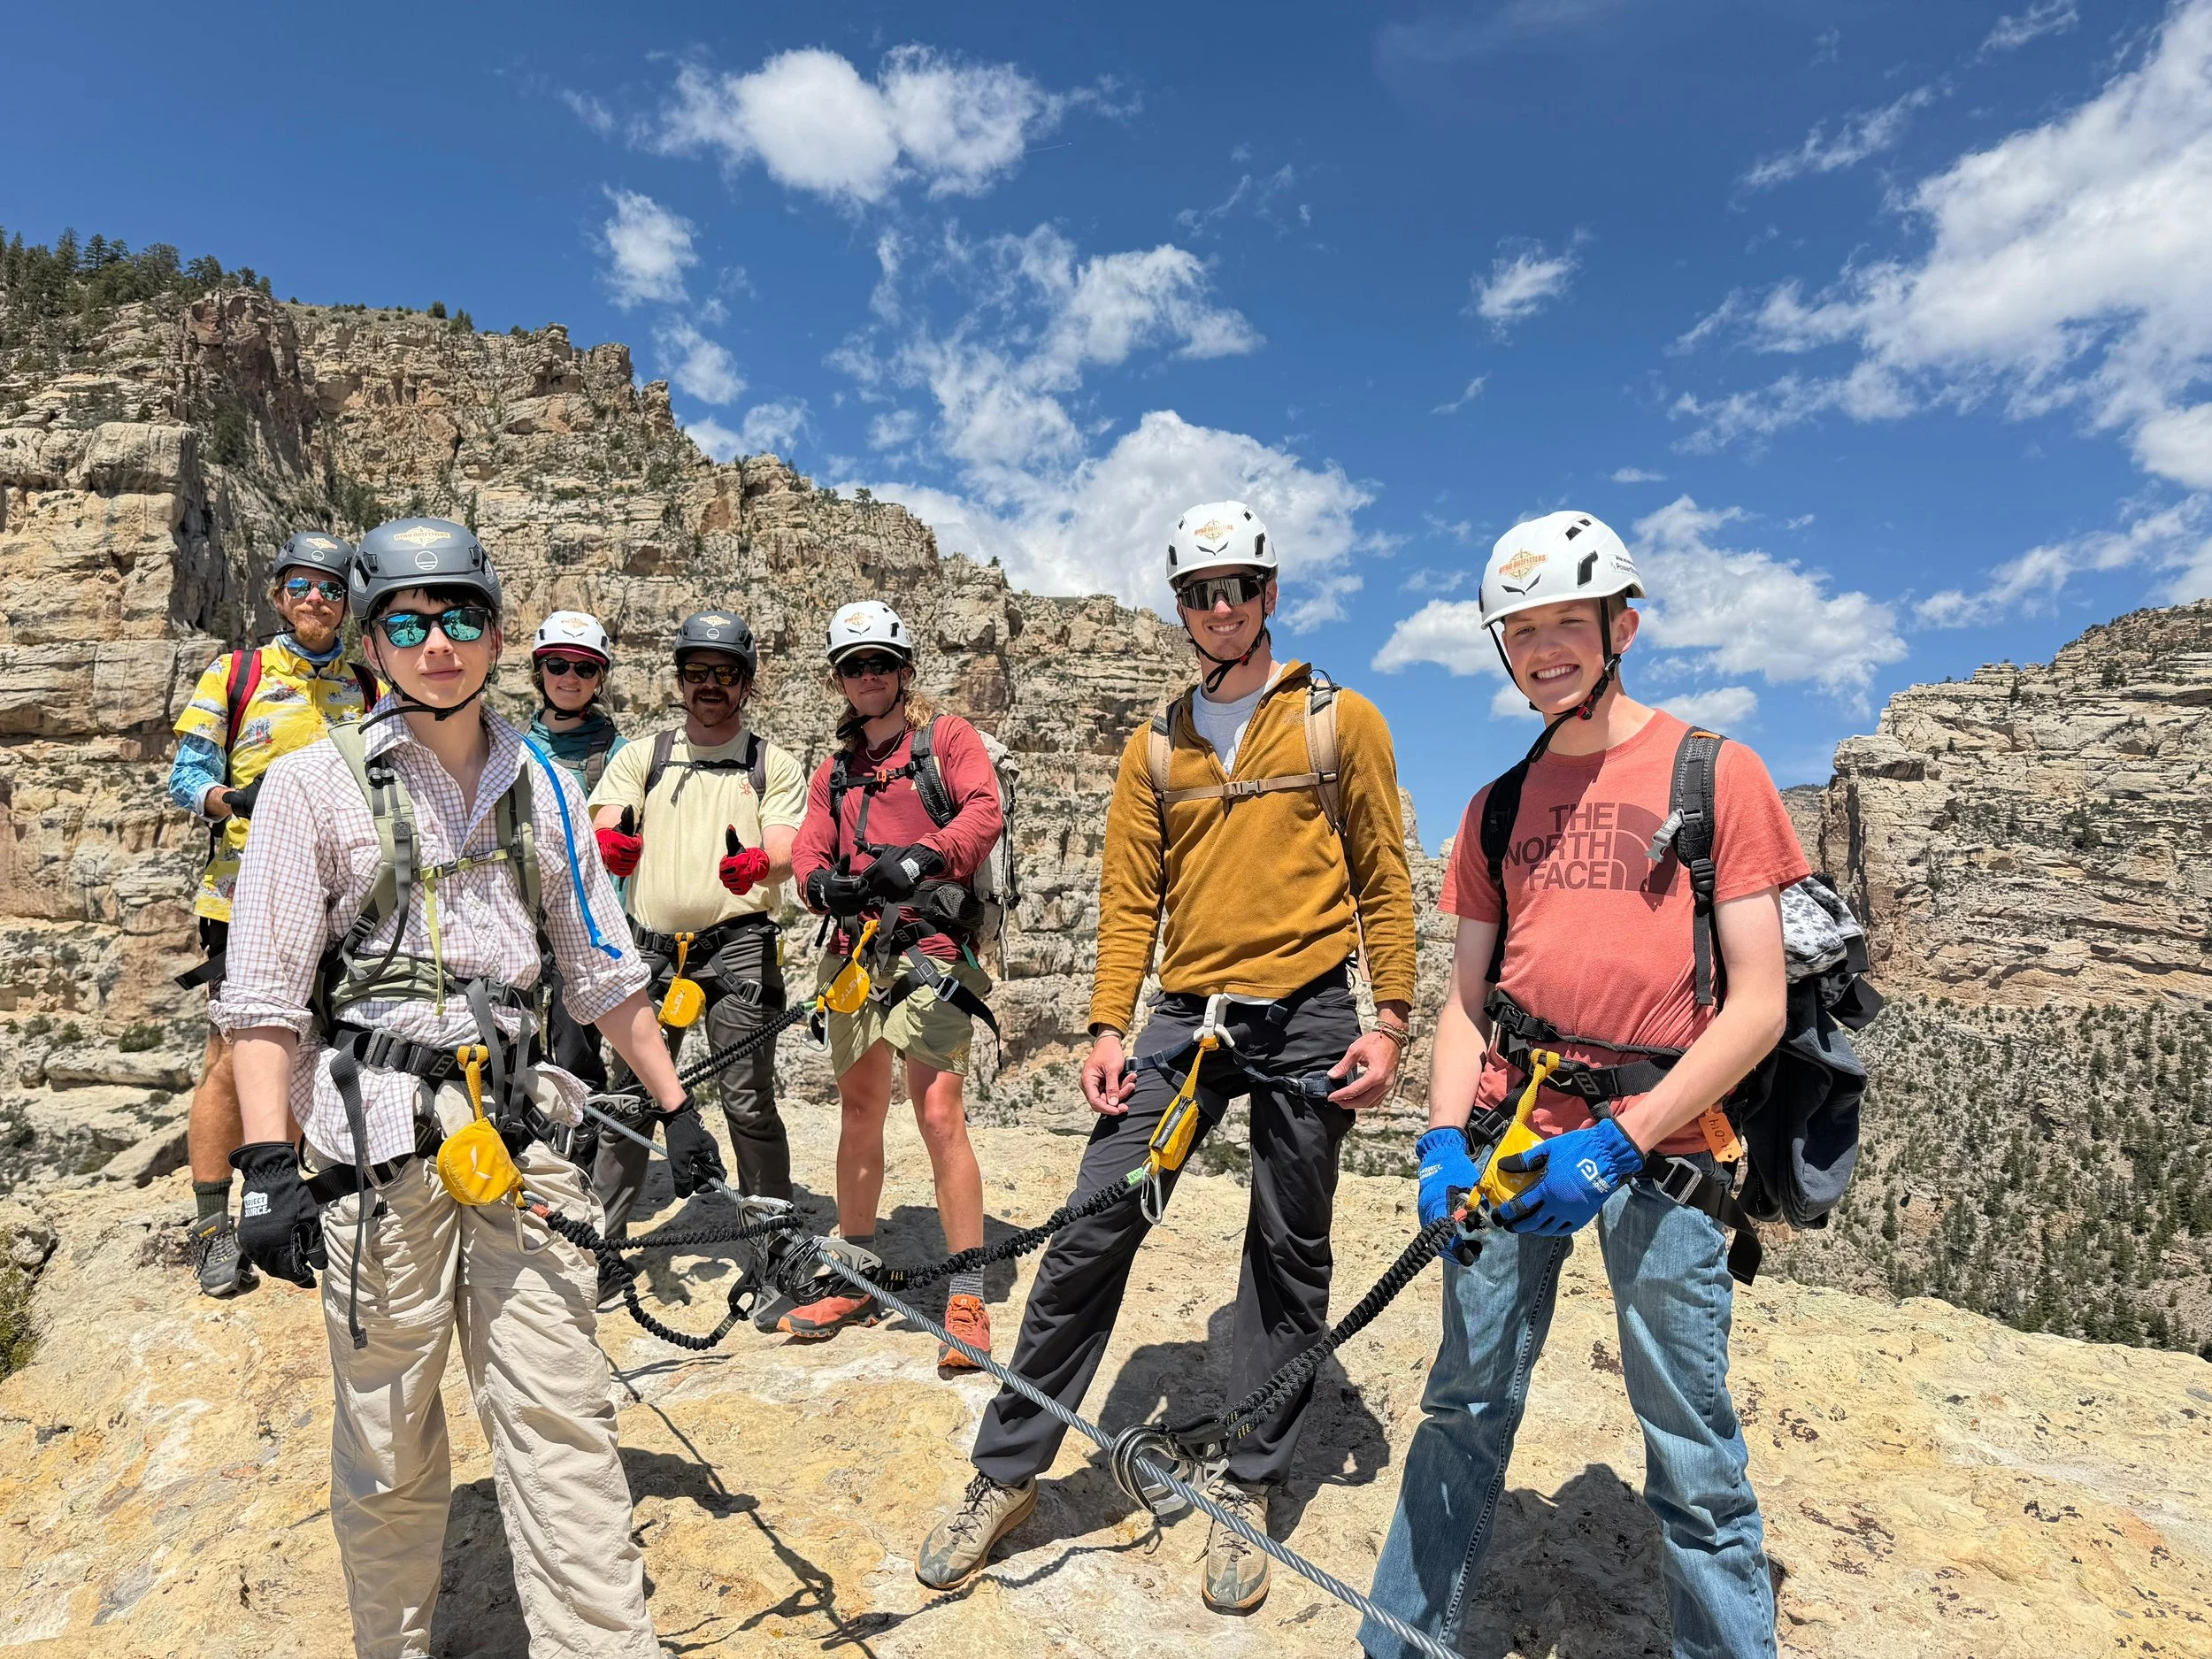
Every climber needs a certified climbing helmet, a properly fitted climbing harness, and a certified via ferrata lanyard with an energy absorber. Closed-toe shoes with good traction are also required.
Our complete rental kit includes the helmet, harness, and lanyard. Bring your own footwear. Homemade lanyards, slings, standard carabiners, and bicycle helmets are not substitutes for the required equipment. You will be turned away if you do not have the proper gear.
See our gear and packing guide for more details.
-
You must be at least 18 to rent equipment. Minors may participate with a parent or legal guardian and must have the appropriate waiver signed. For self-guided climbing, participants must weigh between 90 and 265 pounds, including their pack, and be able to reach at least 62 inches from the ground.
Participants outside the weight range require a professional guide. Contact us before booking to discuss your group’s eligibility and guided trip options.
-
Each rental participant must complete two waivers: the Dyno Outfitters gear rental waiver and the Uintah County via ferrata waiver.
Complete both before your scheduled pickup to help keep your morning moving. Parents or legal guardians must complete the required waivers for minors. The county waiver is required even if you bring your own equipment.
-
Our rental policy requires prior climbing or canyoneering experience and the ability to put on a harness without assistance. Self-guided participants should understand how to use their equipment correctly and be prepared to manage route choices, changing conditions, and their group’s limits.
If you’re new to via ferrata or unsure about exploring independently, we recommend a guided trip. Compare guided and self-guided adventures before choosing.
-
Wear flexible clothing and sturdy footwear suitable for hiking and climbing. We recommend fitted gloves, sun protection, snacks, and a small backpack or hydration pack. Bring at least two liters of water per person, increasing to at least three liters during summer and more as conditions and your planned route require. Pack weather-appropriate layers and a charged phone.
Use our full packing guide to prepare for your day.
Gear Rentals in 3 Easy Steps

01
Reserve Gear
Reserve your equipment and pickup time online before your visit. Pay in person the morning of your climb.
-
Choose your climbing date, equipment, quantity, and pickup time through our online reservation system. We strongly recommend reserving ahead, especially for weekends, so we can prepare your gear and plan to meet you.
Reserve the quantity you expect to need. If your group gets smaller, let us know as soon as possible. You won’t be charged for reserved sets you don’t use, and advance notice helps us make that equipment available to others.
02
Sign Waivers & plan
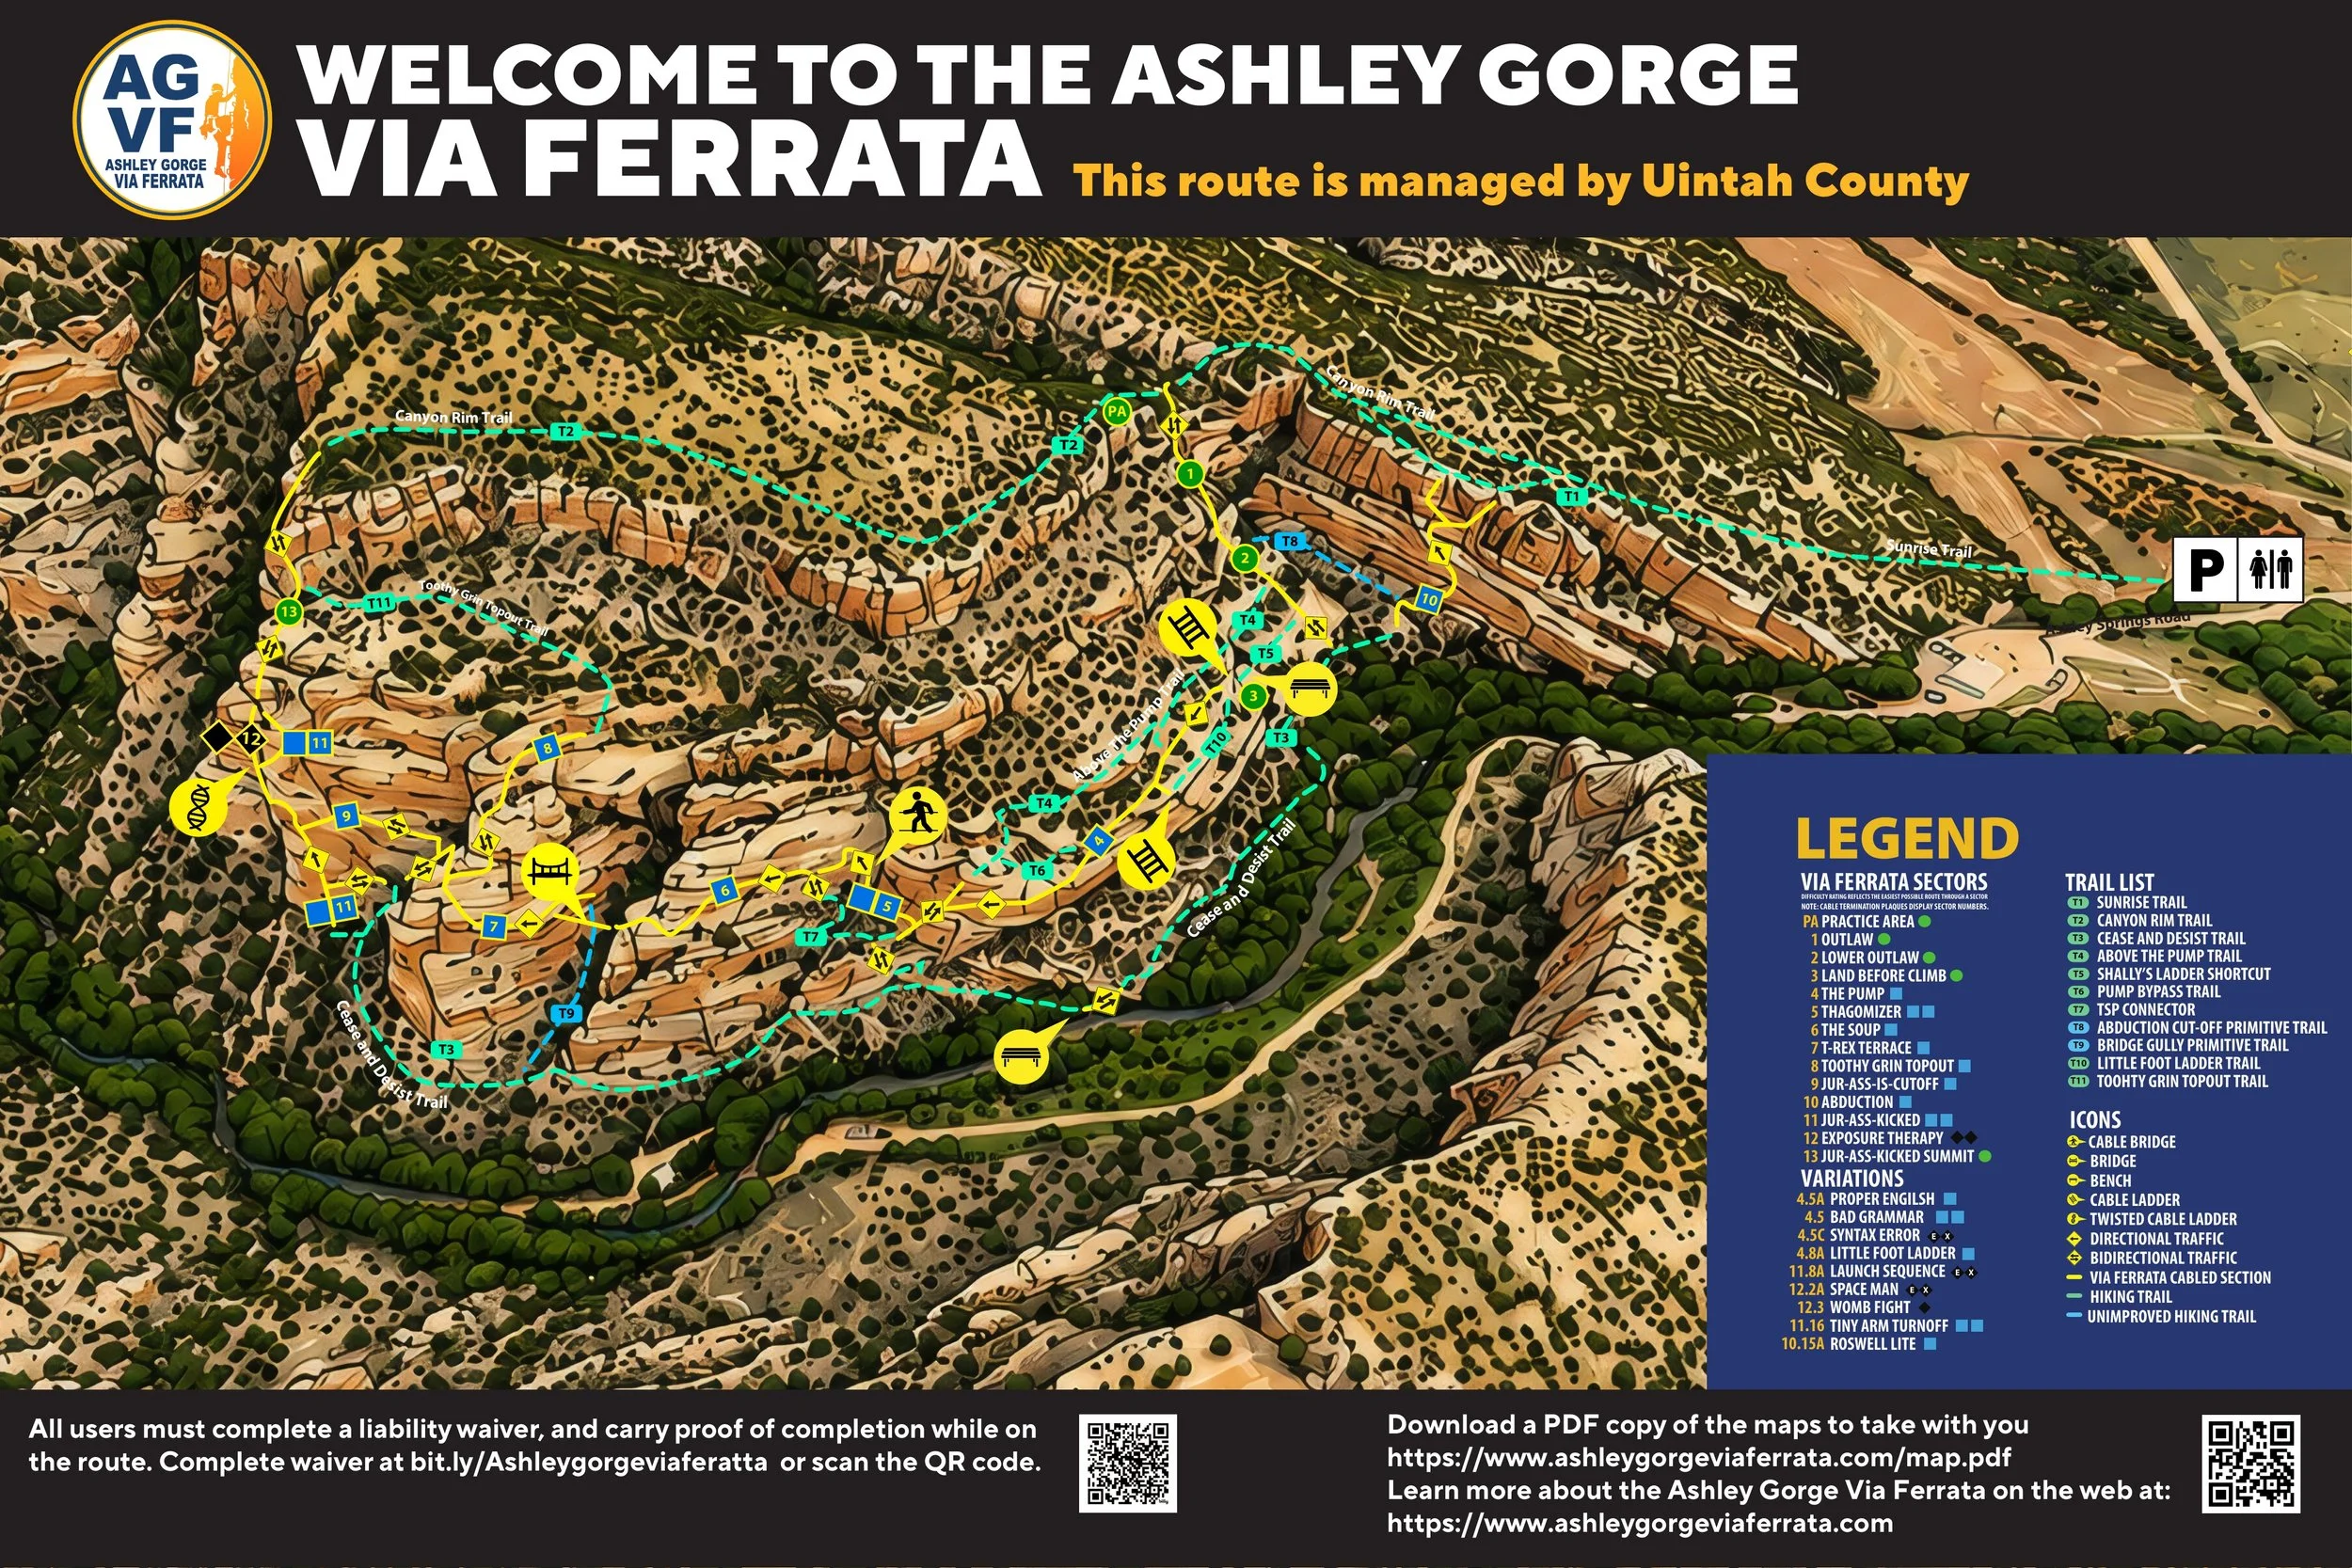
Complete both required waivers and study the route map before you arrive. Every rental participant needs completed waivers.
-
Everyone using rental equipment must complete the Dyno Outfitters gear rental waiver and Uintah County’s via ferrata waiver. Reserving equipment does not complete these forms. Both must be signed before you arrive for pickup.
Parents or legal guardians must complete the required waivers for minors. Rental participants must fall within the 90–265 lb weight range, including their pack. Everyone climbing needs the county waiver, even if they bring their own equipment.
Before your visit, review the route map and choose a plan suited to your group. Identify your exit options, save the map to your phone, and bring any questions to pickup.

03
Pick Up & Pay
Meet us at your reserved time (even outside retail hours). Pick up and pay for your gear at our Vernal, Utah shop. You pay when you come to pick up.
-
Come to Dyno Outfitters at 870 W 100 S, Vernal, Utah, on the morning of your climb. Arrive at your reserved pickup time with both waivers already completed. We’ll verify your paperwork, collect payment, answer questions, and get you your equipment.
The business hours listed on Google and our website are our retail store hours. Rental pickups follow the time you reserve. We’ll be there for your scheduled pickup, even if Google shows the shop as closed.
Need extras? You can purchase items such as gloves and WAG bags at pickup. After your adventure, return all equipment by 9 p.m. that day using the black gear return boxes outside the shop.
Rental Pickup Times Are Different From Store Hours
The business hours listed on Google and our website are our retail store hours. Rental pickups are scheduled separately through our reservation system.
If you reserve a pickup outside our regular business hours, we’ll be there at your selected time, even if Google shows the shop as closed. Arrive at the pickup time you reserved. Outside retail hours, please arrange your pickup in advance.

Via Ferrata Rental Gear
Frequently Asked Questions
Booking & Changes
-
A complete rental kit with a helmet, harness, and via ferrata lanyard costs $45. Individual rentals are also available: $30 for a lanyard, $15 for a harness, or $10 for a helmet.
-
Yes. Reserve your group’s equipment together under one name to simplify pickup. For groups larger than 15, call 435-790-6455 to arrange your reservation. Each participant must still complete the required waivers.
-
Call or text 435-790-6455 as soon as your plans change so we can update your reservation. You pay in person when you pick up your gear but if you have already paid for your rental, rental fees are nonrefundable for any reason. See our rental terms for the full policy.
Pickup & Returns
-
Call or text 435-790-6455 as soon as you know you’ll be late. This is especially helpful when your pickup falls outside retail hours, since our team is arranging to meet you at your reserved time.
-
Return all equipment by 9 p.m. on the day of your rental. Place it in one of the black gear return boxes outside our shop’s front door. You can use the boxes after the retail store has closed.
Planning Your Climb
-
Yes. The public course is free to access, while equipment rentals and guided trips are separate paid services. Everyone must meet the course requirements, use the correct equipment, and complete the county waiver. Our Quick-Start Guide explains how to prepare.
-
Difficulty varies significantly between sections. Shorter outings can take a few hours, while longer routes can occupy most of the day. Your group’s experience, fitness, comfort with heights, and traffic on the course all affect timing.
You do not need to complete the entire course. Choose a route suited to everyone in your group and allow time for the approach hike, breaks, and return. Start with our route-planning guide.
-
Self-guided access is permitted during daylight hours from March 1 through November 30, weather permitting. Check current conditions and any posted closures before visiting.
-
Check the forecast before traveling and again before starting your climb. Do not climb during lightning, rain, snow, or other unsafe conditions. Starting early can help with summer heat and afternoon storms, but it does not guarantee suitable weather.
Contact us before pickup if conditions may affect your plans. Our trip preparation guide includes more weather guidance.
Gear up with the Locals
More than a rental. A better start to your climb.
Why Rent with Dyno Outfitters
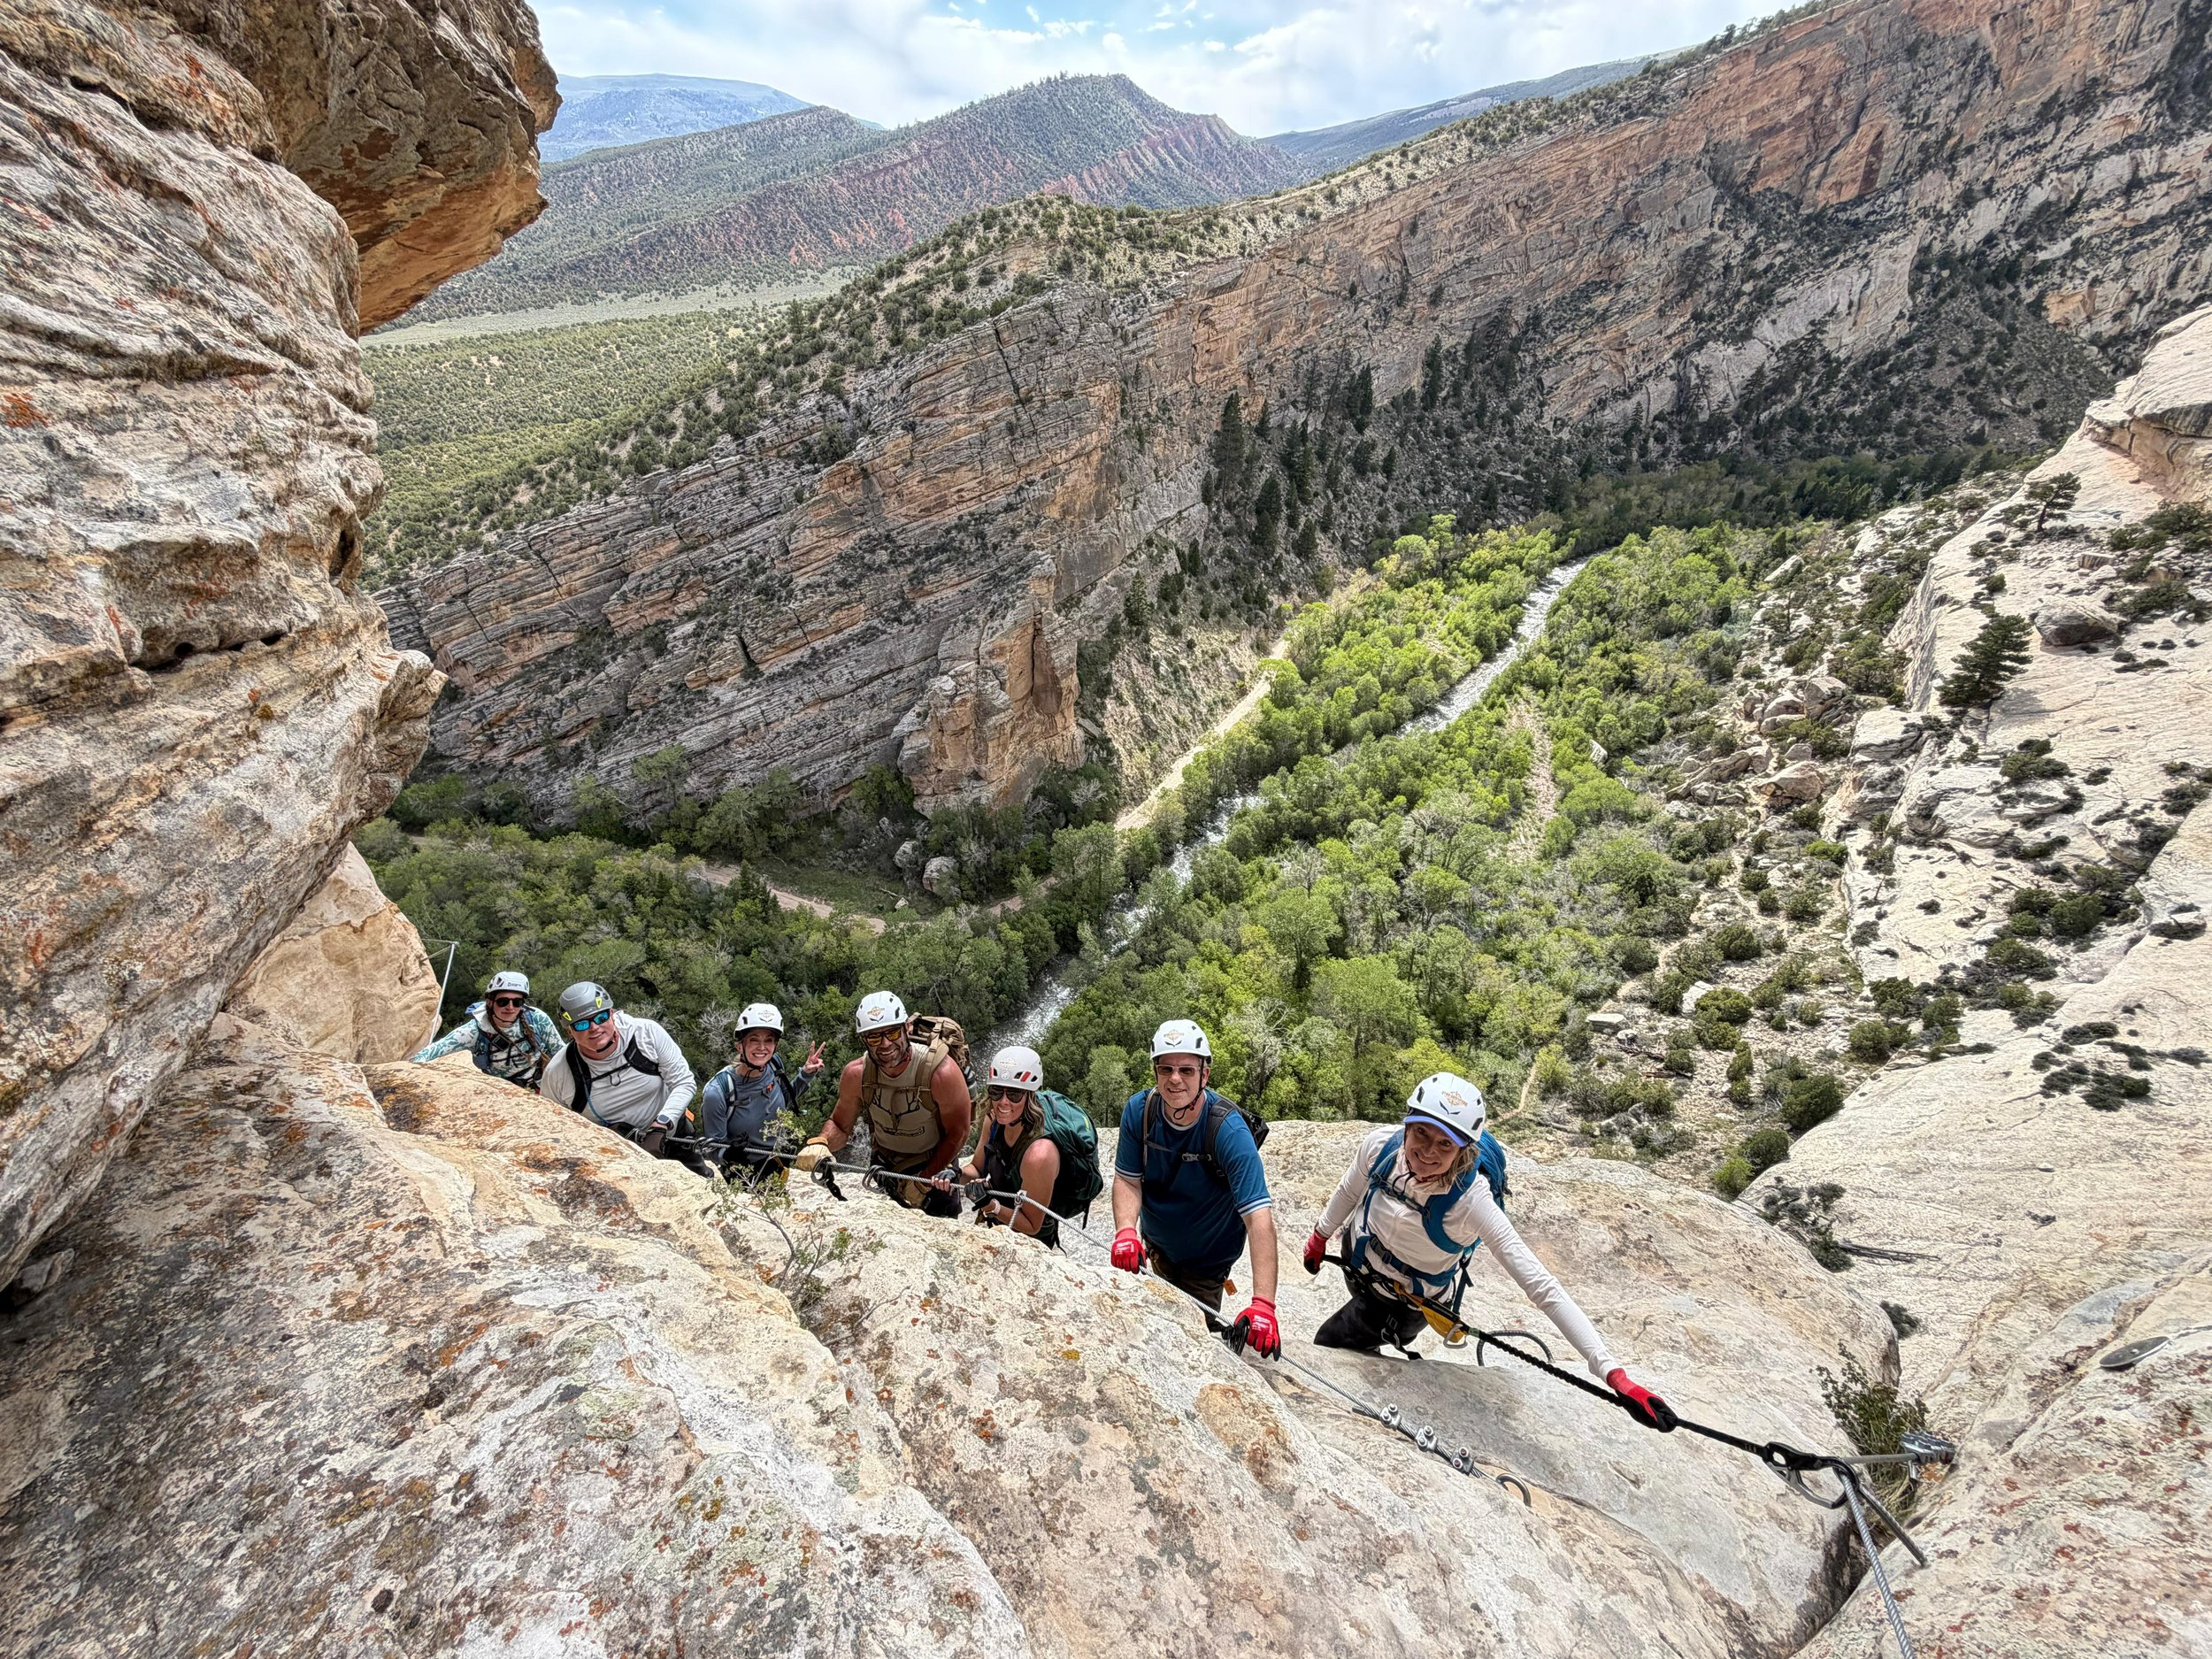
Rent your gear from the only local company to the Ashley Gorge Via Ferrata. This is the only location you pick-up in person, which means we make sure you know how to use your gear and where to go.
As the only company with guides, we know the most because we’ve done the most.
Built For Ashley Gorge. Local Pickup in Vernal, Utah

Local, convenient pickup
Pick up in Vernal before heading to Ashley Gorge.

Early pickup available
Arrange pickup as early as 5:15 AM for a cooler start.

Complete, Inspected Kits
Route-ready helmets, harnesses, and via ferrata lanyards. When you come to pick-up we make sure you know how to use the gear correctly.

Real local route knowledge
Because we are only guides for this Via Ferrata, we have the most experience. Get directions, conditions, and practical advice before you go.
Pro-Tips for an Enjoyable Day on the Via Ferrata
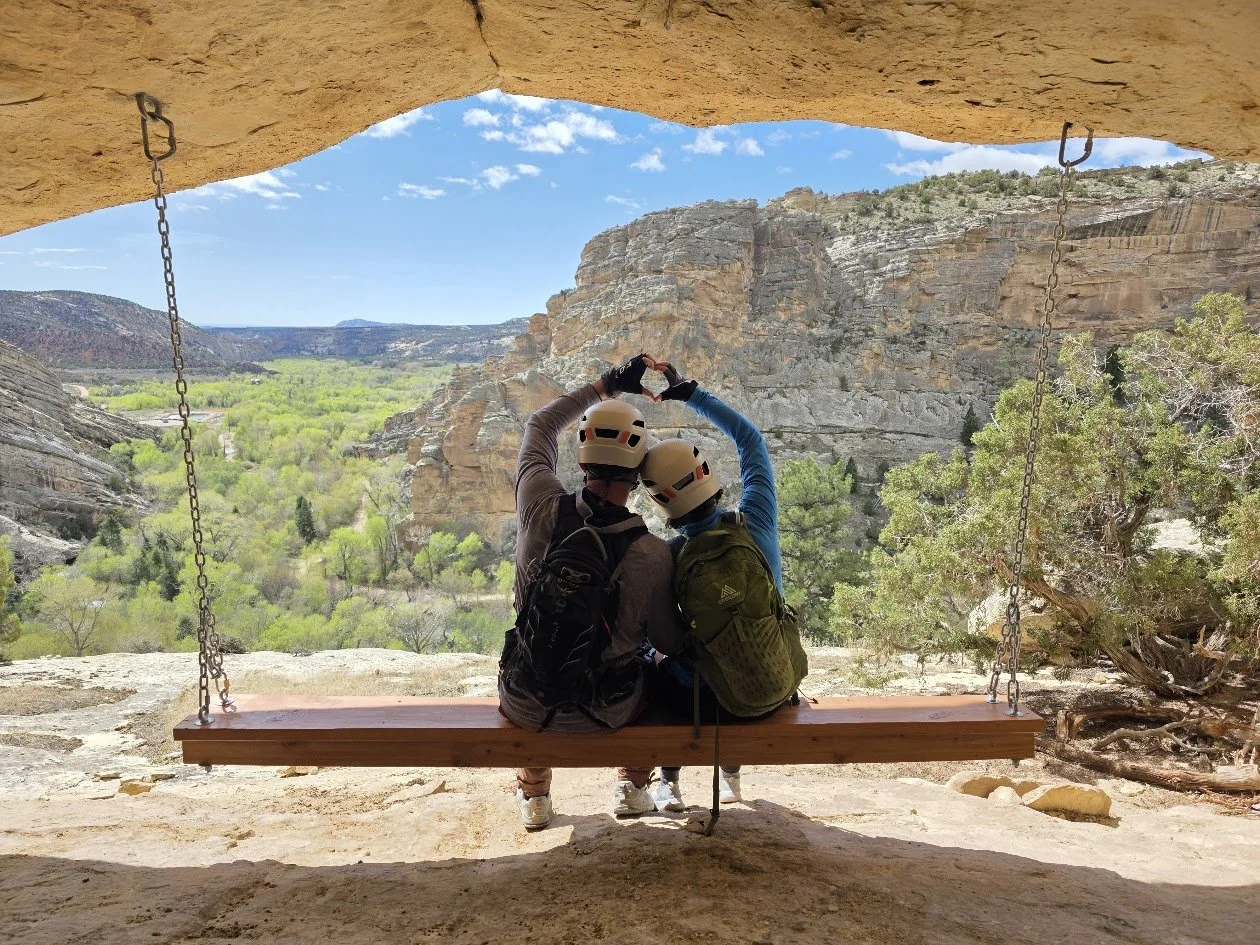
The high desert is HOT in the summer, and spring and fall afternoons are prone to thunderstorms. This is also a much larger via ferrata than you realize; bring more water than you think you need (at least 2L) and plan to start early to avoid the heat and any lightning. Consider bringing electrolytes too, and hydrate well the week before your climb.
Reserve gear as a group. If several of you are coming out, it will make your morning smoother if one person reserves for everyone under their name only.
Bring a backpack to carry your water and snacks. Fanny packs and cross-body packs work too, but most people prefer a backpack. Also, sturdy shoes and fitted gloves (the jury is still undecided on whether full-finger or fingerless are best).
Avoid the crowds and get through the full via faster by planning your trip for a week day! If you do opt for a weekend, reserve your gear as far in advance as possible.
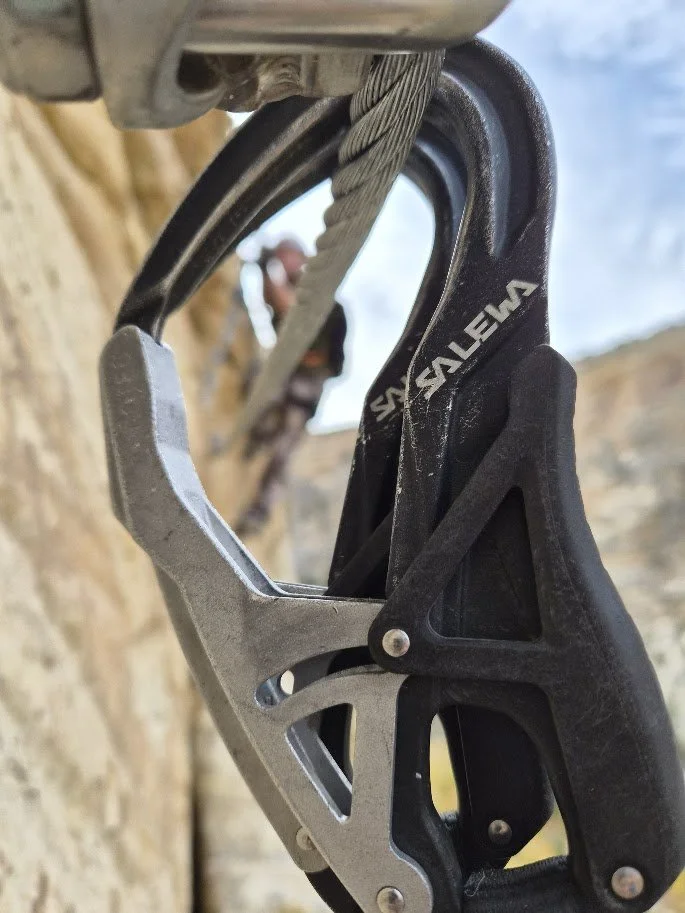
DON’T USE HOMEMADE GEAR. Webbing, slings, daisy chains... none of them are rated for the type of fall you could see on a via ferrata. Not only could you break your back, it’s also a class B misdemeanor if you don’t follow the posted rules, and if there’s a ranger up there, they’ll turn you away.
See the Entire Ashley Gorge Via Ferrata
ROUTE OVERVIEW

Use the full map in conjunction with the section maps to understand how the approach, sectors, routes, river, bridges, exits and connecting trails fit together.
NEW SECTIONS HAVE ARRIVED!
Phase 2 routes are now complete. The expansion adds new connections, additional exits, several route variations, and a major new big wall on the north side of Ashley Gorge Via Ferrata.
Learn more about the Phase 2 routes here.
Route information, access conditions and project details may change. Review current safety and access information before visiting.
Click each photo to open a high quality version
you can download or save to photos
for reference during your climb.


FIND YOUR WAY
Explore the Via Ferrata by Route or Feature
For additional information, explore our Routes, Sectors, & Features pages.
For downloadable maps of the full AGVF and of each section that you can save to your photos, see our Quick Links below.
Trails
-
The approach trail from the parking area to the beginning of the via ferrata, the Practice Area, and the Canyon Rim Trail. It is a little less than a mile long with approximately 650 feet of elevation gain, so take it slow and steady.
-
Extension of the Sunrise Trail that takes you to and from the Jur-Ass-Kicked Summit (13).
-
Travels along the bottom of Ashley Gorge and connects the primary climbing sectors, access points, bypasses, and exit routes. If you have a water filter, you can re-fill water bottles from Ashley Creek at Riverside Bench on this trail.
-
Trail that travels above the Pump (4) to get you farther into the canyon, faster. This is a good way to bypass the congestion at Shally’s Ladder and Bad Grammar and drop in right before Thagomizer (5).
-
New cut-off trail that takes you directly from lower Outlaw (2), across Land Before Climb (3) to the Pump (4).
-
Gives you a break from climbing for a moment, and can be an emergency exit off of the Pump (4).
-
Offers an easier trail connecting the Pump (4) and Soup (6) so you don’t have to do Thagomizer (5). Includes a short via ferrata access point to the Cease & Desist Trail (T3).
-
Quickly gets folks from Outlaw (1) over to the top of the first pitch of Abduction (10). Great for quick trips and beginners.
-
A primitive trail marked by cairns that offers a way down to the Cease & Desist Trail (T3) immediately after the Dynomite Sky Bridge.
-
This is a fantastic option for the less experienced members of your group to bypass the Bad Grammar (4.5) feature on the Pump (4). Your group can still watch each other the whole time, then re-join together for the last half of the Pump.
-
Takes you to and from the Toothy Grin Topout (8) and the Jur-Ass-Kicked Summit (13).
Sections With Variations or special notes
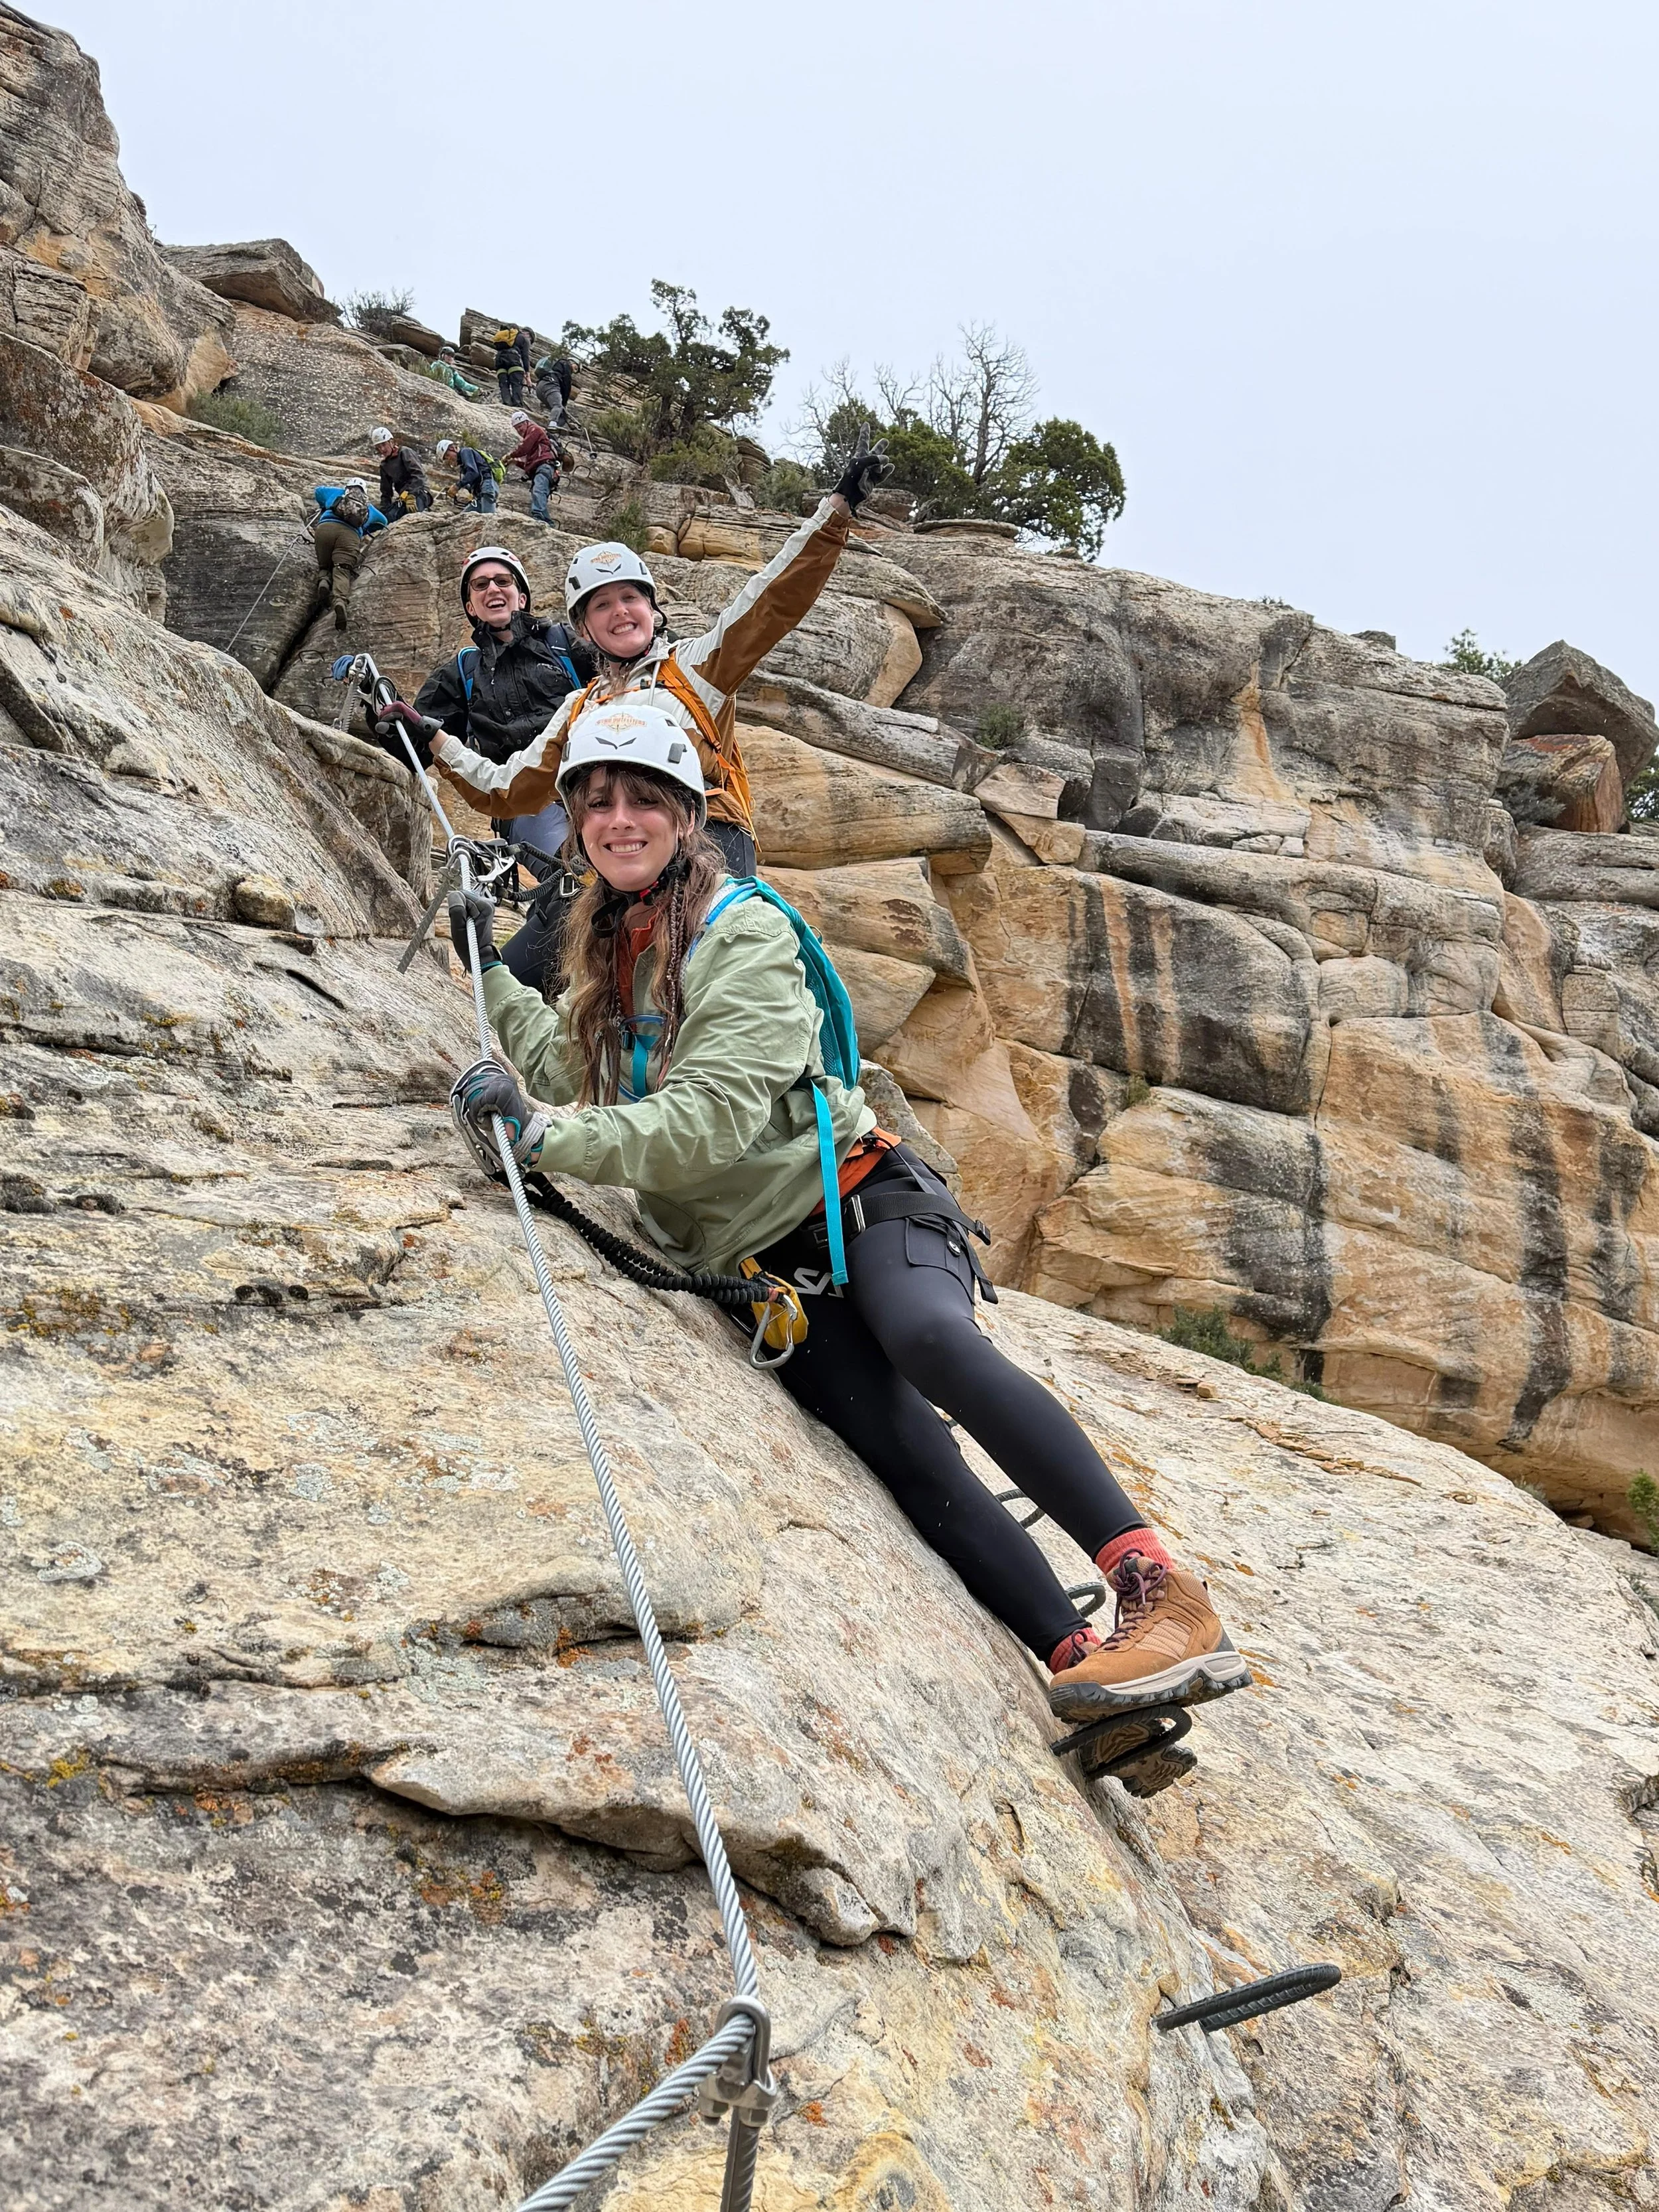
The Pump (Sector 4): One of the longest and most physically demanding sections of the via ferrata, and it only goes one direction. The Pump includes the crux of the original route: Bad Grammar (4.5) as well as a harder and easier variation (Syntax Error (4.5C) and Proper English (4.5A)). Even the easier variation is tough though, so if you’re unsure about your groups abilities a better option is to take either the Above the Pump Trail (T4) or the Little Foot Ladder Trail (T10) and get on the Pump AFTER the Bad Grammar variations.
Thagomizer (Sector 5):A difficult connecting sector between The Pump (4) and The Soup (6). It eliminates the former downclimb and approach hike on the TSP Connector (T7) to the Soup, but it is not an easier alternative. Inexperienced or tired individuals should use the TSP Connector Trail.
Jur-Ass-Is-Cutoff (Sector 9): A connecting trail from T-Rex Terrace (7) over to Jur-Ass-Kicked (11), about a third of the way up the wall. This also offers an option for those who have started Jur-Ass-Kicked but have second thoughts.
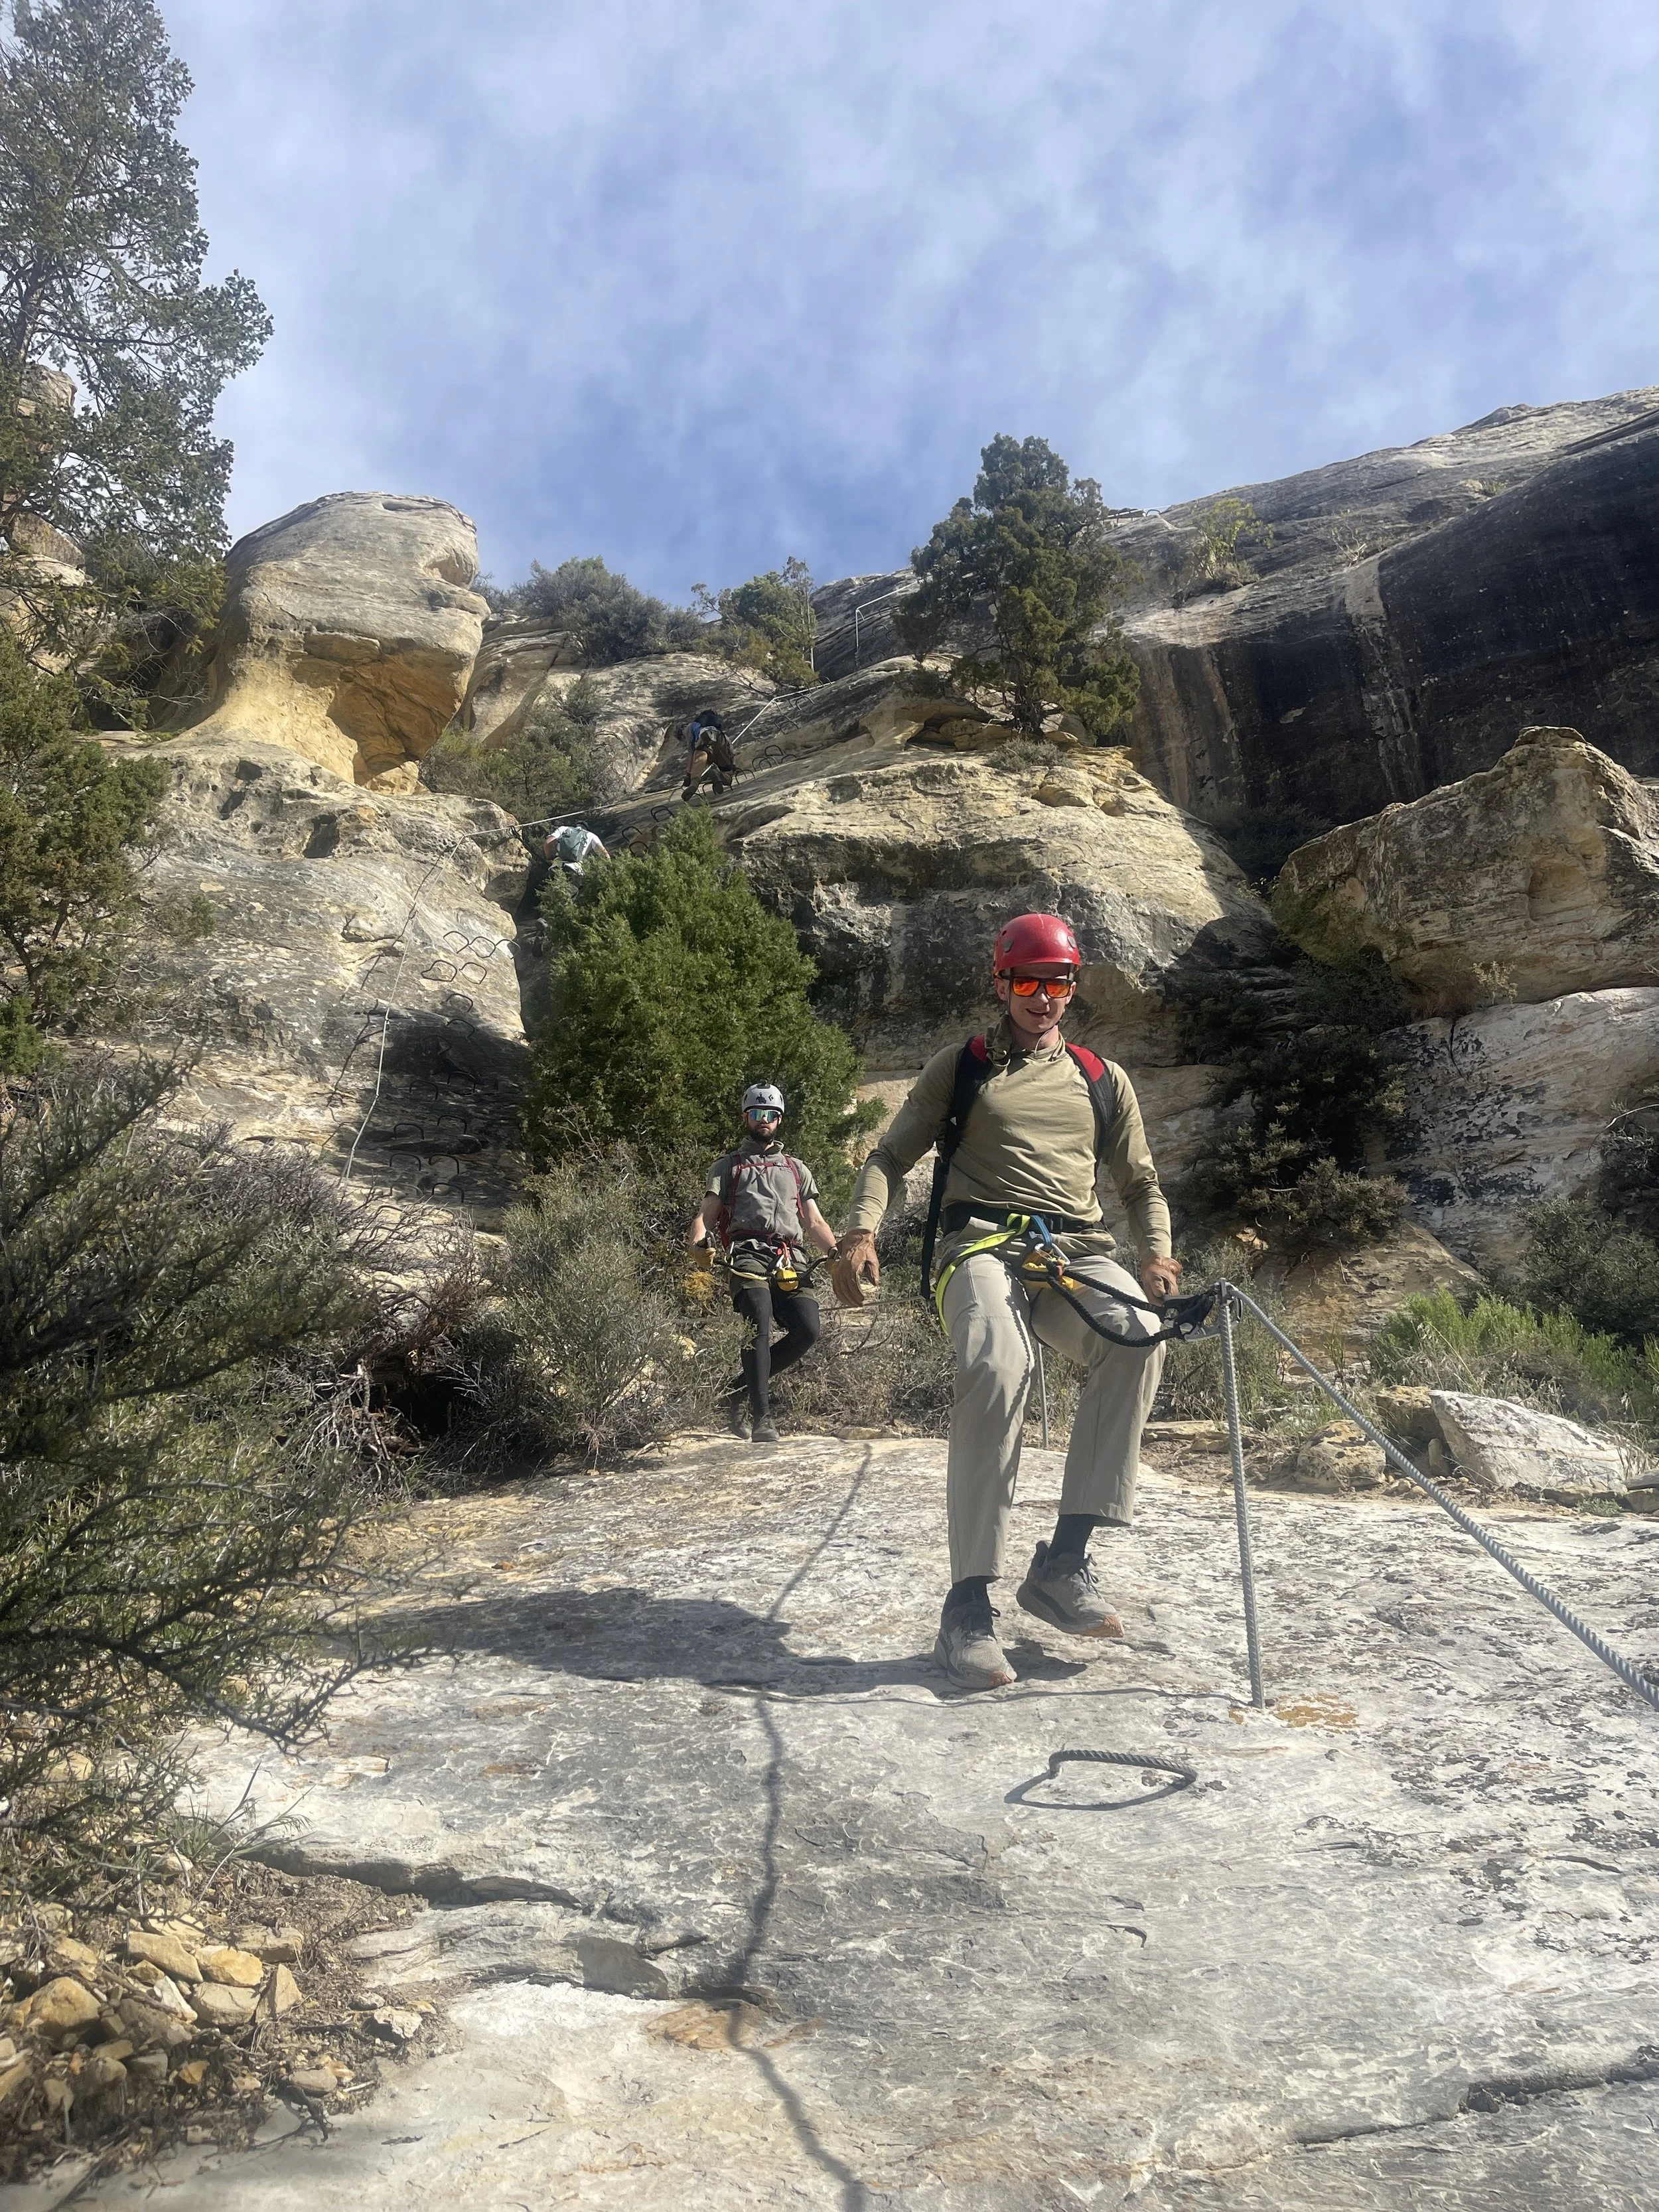
Abduction (Sector 10): The original exit, and a lot of folks’ favorite section: A 400ft exposed climb out of the canyon and back to the Sunrise Trail. It features the original Triceratop-out with an exposed final move, or a more protected and easier Roswell Lite (10.15A) variation.
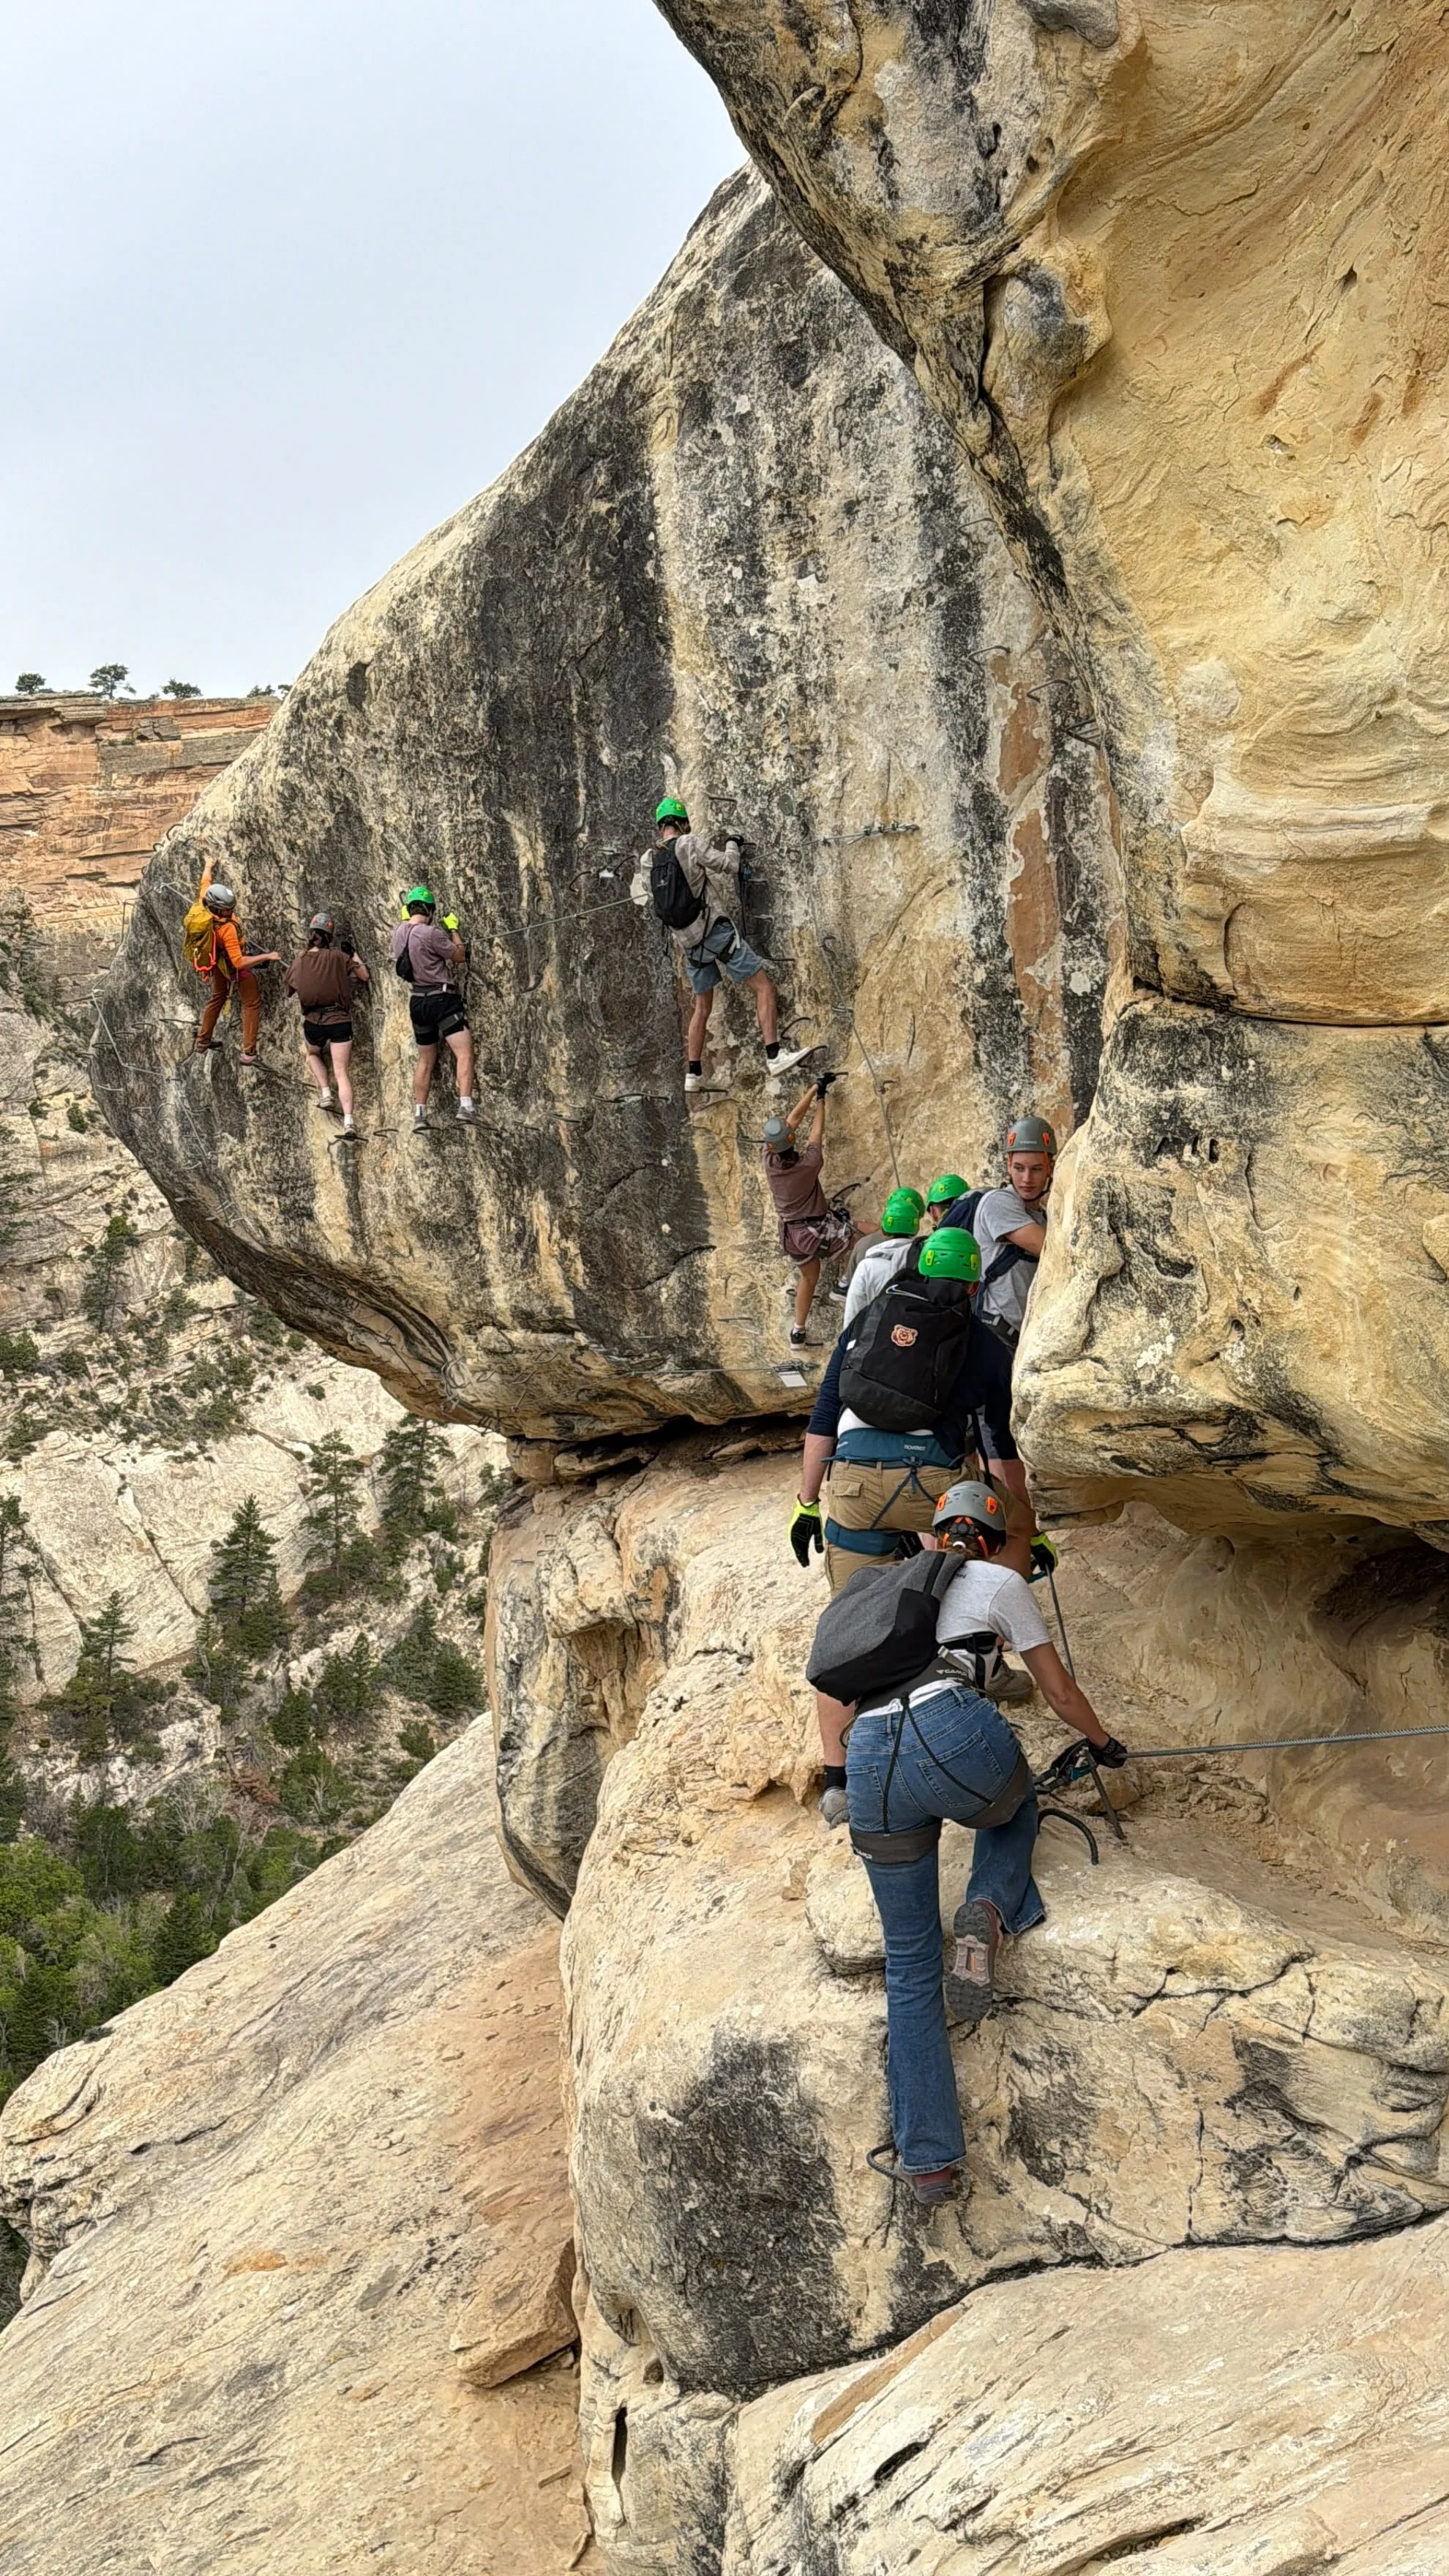
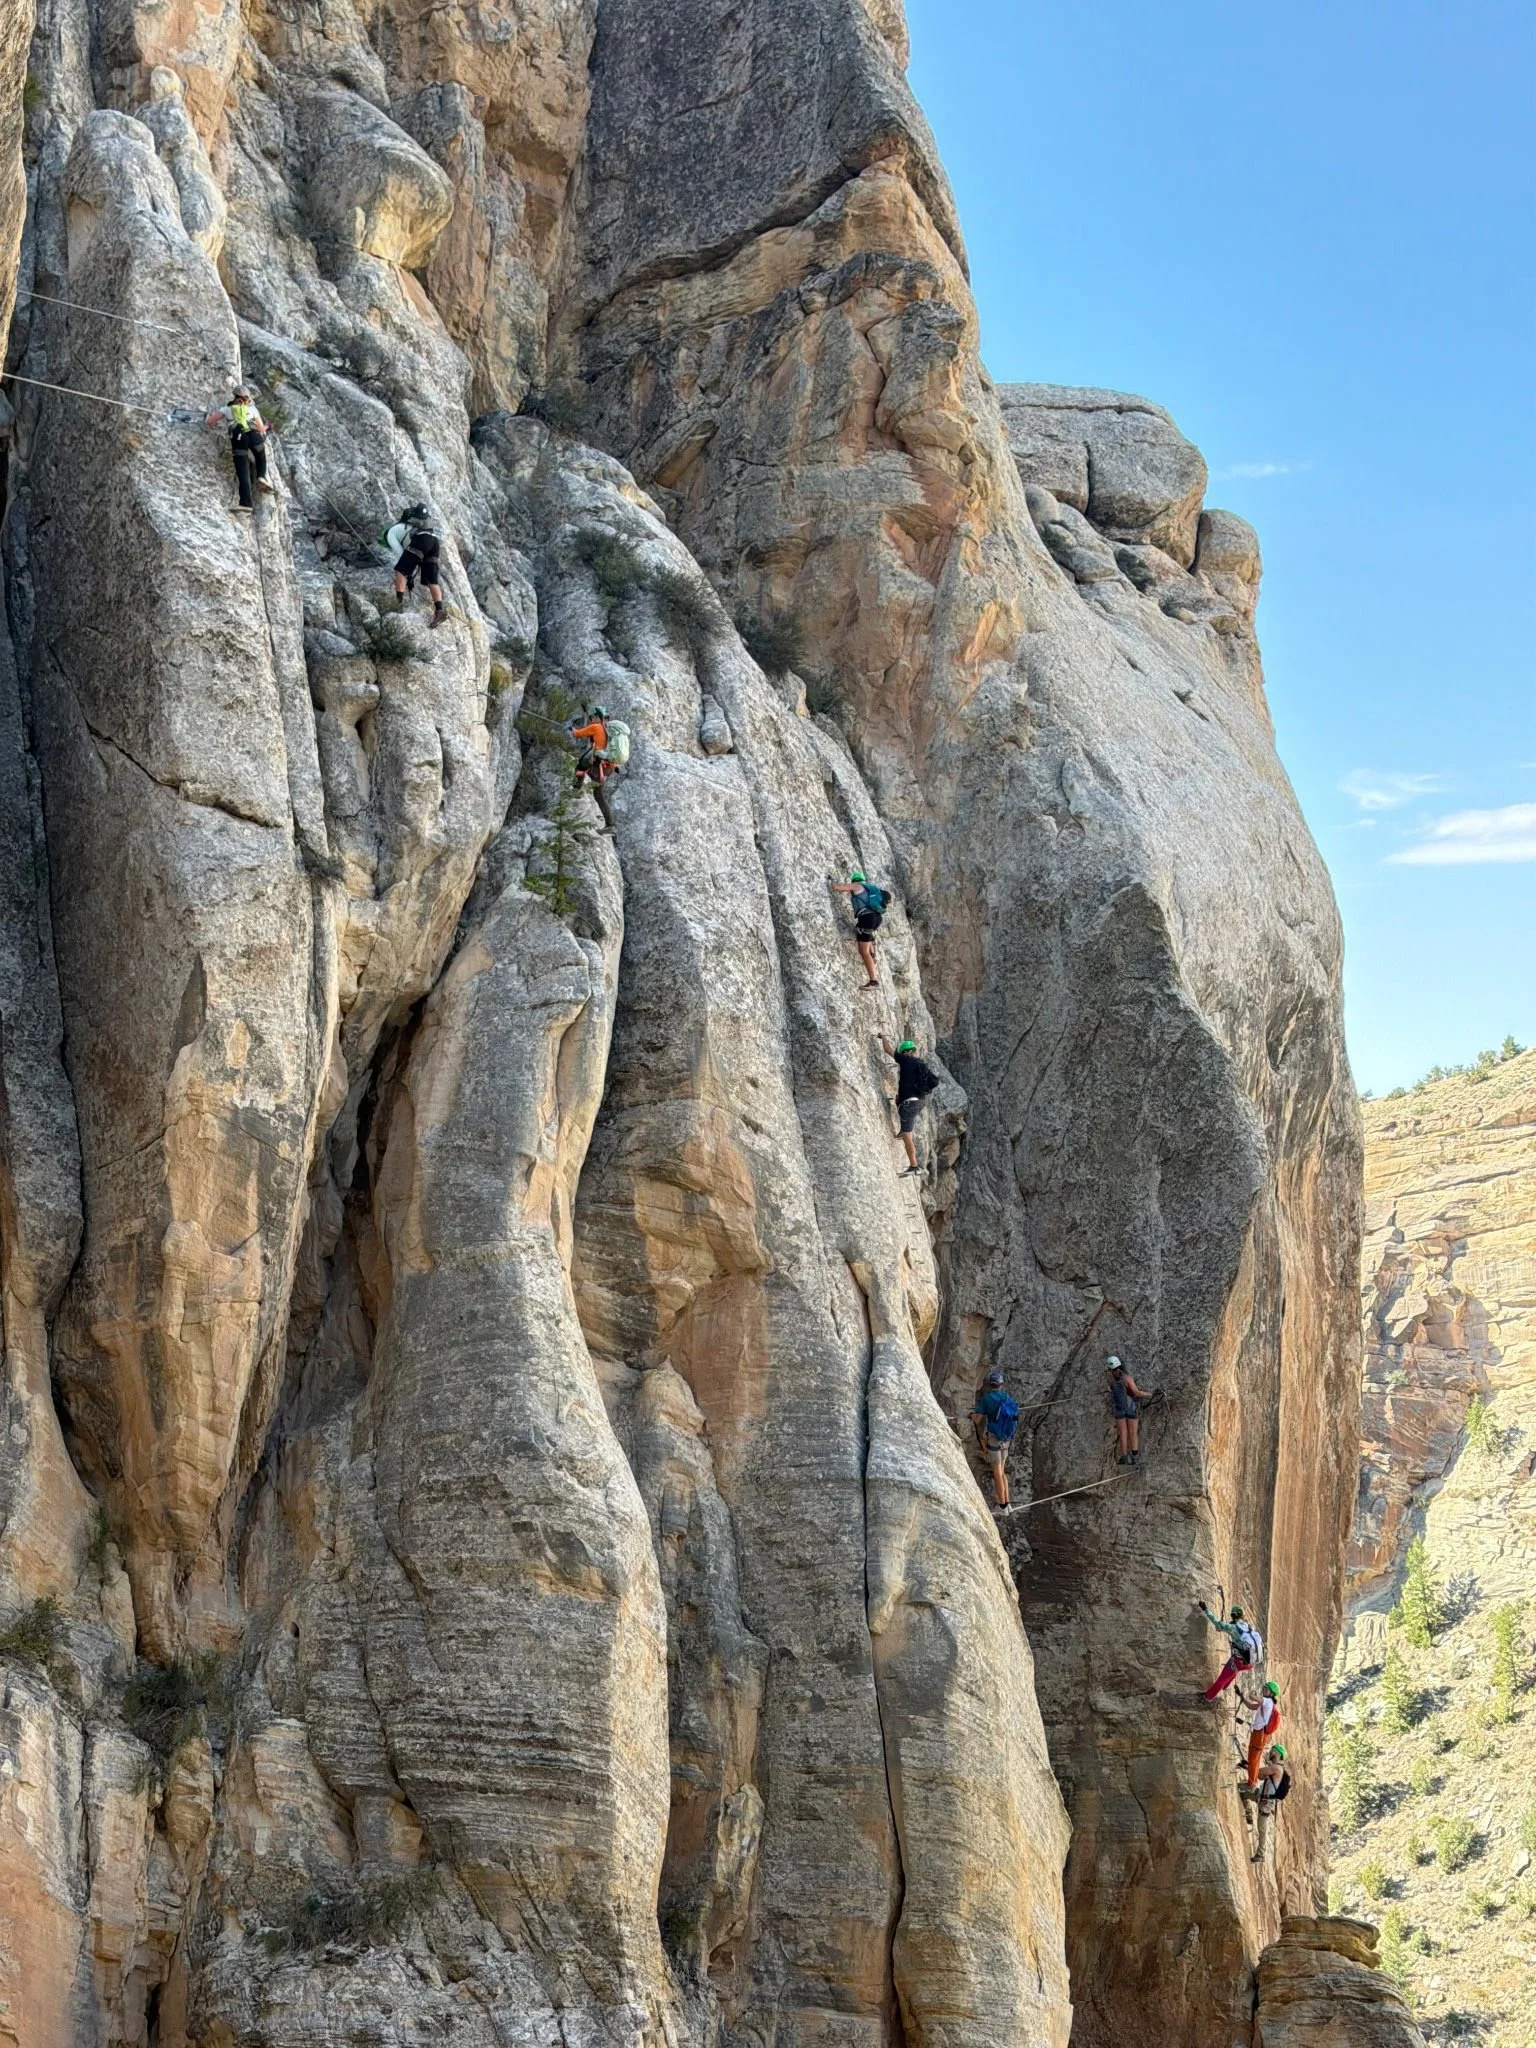
Jur-Ass-Kicked (Sector 11):A sustained and exposed big-wall sector. It forms one of the primary climbing lines through the Phase 2 expansion and is the most demanding wall in the Gorge. This sector is also prone to rapidly changing weather, high winds, and exposure to storms and lightning. DO NOT TAKE GROUPS OF INEXPERIENCED CLIMBERS OR YOUTH GROUPS UP THIS SECTOR.
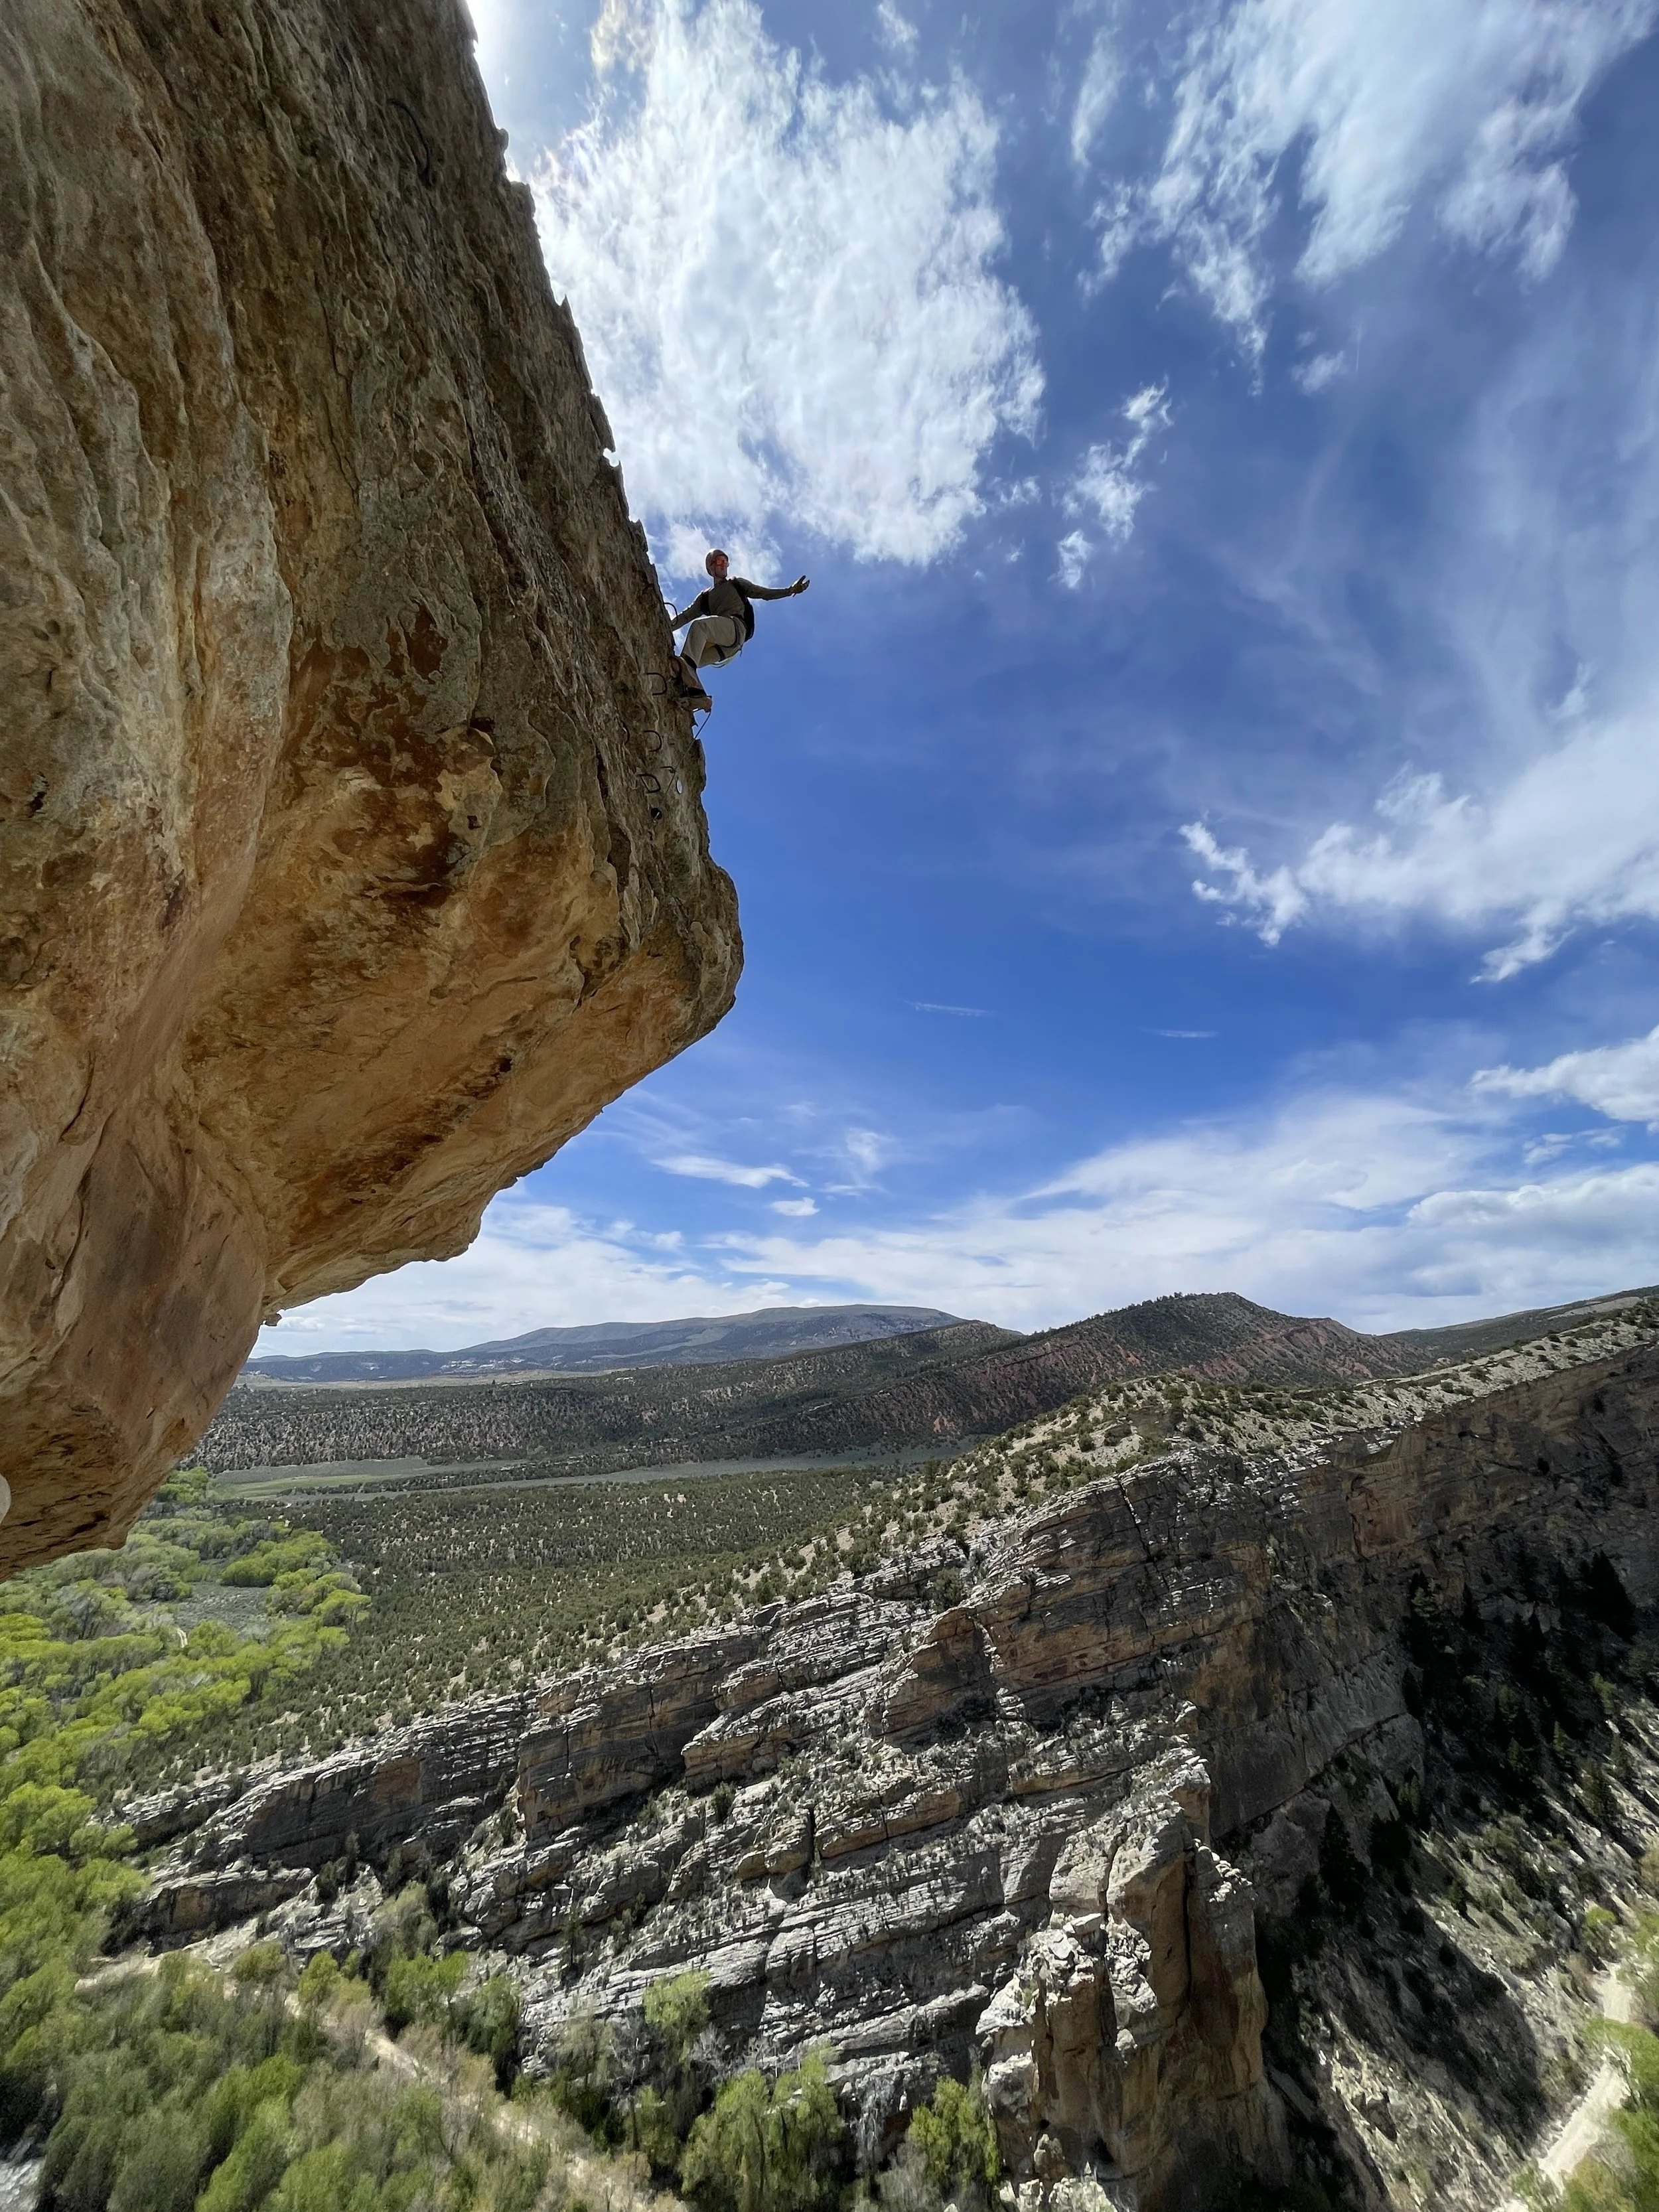
Exposure Therapy (Sector 12):The main event on Jur-Ass-Kicked. It’s a 75ft long, overhanging, double helix ladder positioned 600+ feet above the ground with an optional roof finish called Space Man (12.2A). DO NOT DO THIS IF YOU ARE INEXPERIENCED AND ARE WITHOUT A GUIDE.
Sectors
-
![Climber practicing carabiner transfers on the Ashley Gorge Via Ferrata Practice Area near Vernal, Utah.]()
PA. Practice Area
A short introductory section where climbers can practice using their equipment and moving through cable transitions before entering the main route.
-
![Via ferrata climber connected to the fixed cable while downclimbing Outlaw.]()
1. Outlaw
A bidirectional descent from the canyon rim into Ashley Gorge that serves as the primary entrance to the original route system.
-
![Climber descending Lower Outlaw toward the bottom of Ashley Gorge.]()
2. Lower Outlaw
The lower continuation of Outlaw that completes the descent into the canyon and connects with Land Before Climb and nearby trails.
-
![Climbing the ladder between Lower Outlaw and The Pump at the Ashley Gorge Via Ferrata.]()
3. Land Before Climb
A transition sector and natural decision point between Lower Outlaw, The Pump, and the canyon-bottom trail system.
-
![Climber ascending the sustained fixed-cable route on The Pump in Ashley Gorge.]()
4. The Pump
A long, one-direction sector containing sustained climbing, difficult movement, and several of the original route’s primary crux features.
-
![Exposed arête climbing along the Thagomizer route near Vernal, Utah.]()
5. Thagomizer
Discover Thagomizer, a difficult connector featuring exposed arêtes, cable bridges, and chimney climbing between The Pump and The Soup.
-
![Climber traversing the sandstone wall of The Soup sector in Ashley Gorge.]()
6. The Soup
A varied central sector featuring exposed canyon terrain, traverses, viewpoints, and the Dynomite Sky Bridge.
-
![Climbers overlooking Ashley Gorge from T-Rex Terrace near Vernal, Utah.]()
7. T-Rex Terrace
An exposed terrace and route junction providing canyon views and access to several Phase 2 climbing options.
-
![Climber ascending Toothy Grin Topout above Ashley Gorge.]()
8. Toothy Grin Topout
Use Toothy Grin Topout to connect T-Rex Terrace with the upper canyon trails and create shorter or alternate Ashley Gorge routes.
-
![Climber ascending the exposed Abduction exit from Ashley Gorge.]()
10. Abduction
The original primary exit from Ashley Gorge, climbing approximately 400 exposed feet from the canyon toward the Sunrise Trail.
-
![Climbers ascending the massive Jur-Ass-Kicked wall above Ashley Gorge.]()
11. Jur-Ass-Kicked
A sustained one-direction big-wall sector featuring approximately 700 feet of steep and highly exposed vertical climbing.
-
![Climber ascending the overhanging double-helix ladder on Exposure Therapy.]()
12. Exposure Therapy
The upper crux of Jur-Ass-Kicked, featuring a 75-foot overhanging double-helix ladder high above the canyon floor.
-
![Climbers reaching Jur-Ass-Kicked Summit above Ashley Gorge.]()
13. Jur-Ass-Kicked Summit
The final bidirectional summit sector connecting the Jur-Ass-Kicked wall with the upper canyon trail network.





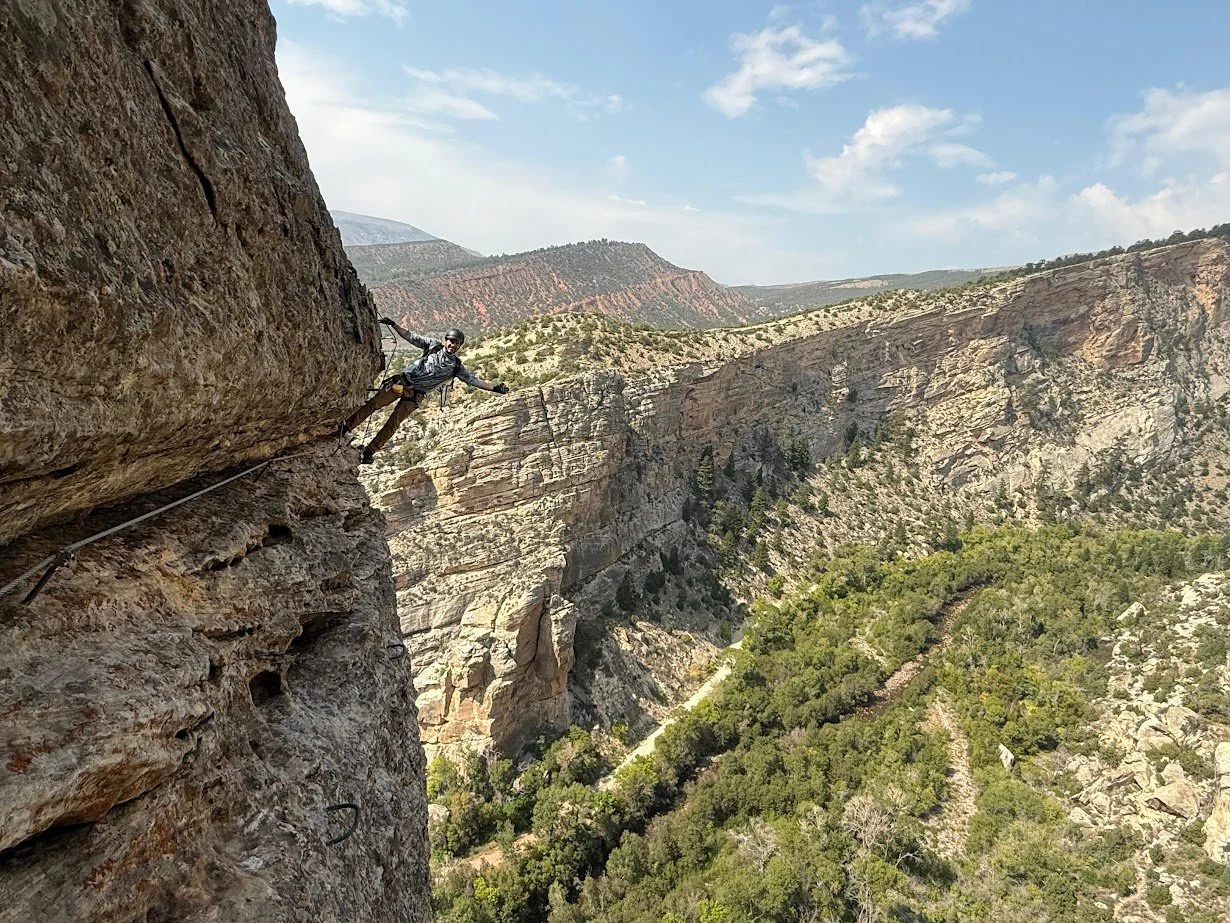
Quick Links
MAPS:
Downloadable map of the full AGVF
Downloadable map of Abduction, Outlaw, & Pump
Downloadable map of Soup, Thagomizer, & Toothy Grin Topout
Downloadable map of Jurasskicked & Toothy Grin Topout
WAIVERS & MORE:
Dyno Outfitters’ Gear Rental Waiver
Uintah County Waiver
Frequently Asked Questions
Directions from Dyno Outfitters to the AGVF